Key Takeaways
- A stand mixer can knead bread dough in 5–8 minutes on speed 2 — faster than the 12–15 minutes hand kneading requires, with more consistent gluten development.
- Your mixer's dough capacity depends on flour weight and hydration, not just bowl size — a 5.5qt bowl-lift mixer with a DC motor can handle up to 1,500g of flour for a standard 65% hydration loaf, but should stay under 800g for stiff doughs like bagels.
- Speed 2 is the effective maximum for kneading bread dough regardless of what your mixer's dial goes up to — anything faster risks overheating the dough, damaging the motor, and developing gluten unevenly.
- The "windowpane test" is useful but not universal — whole wheat doughs will never stretch as thin as white flour doughs, and high-protein bread flours pass the test faster than all-purpose flour even when gluten is underdeveloped.
- DC motor stand mixers (like Hauswirt M5 and M5max) maintain constant torque under load, which means they knead stiff dough without speed drop, generate less heat, and are measurably quieter — 45dB versus 75–85 dB for AC motor equivalents.
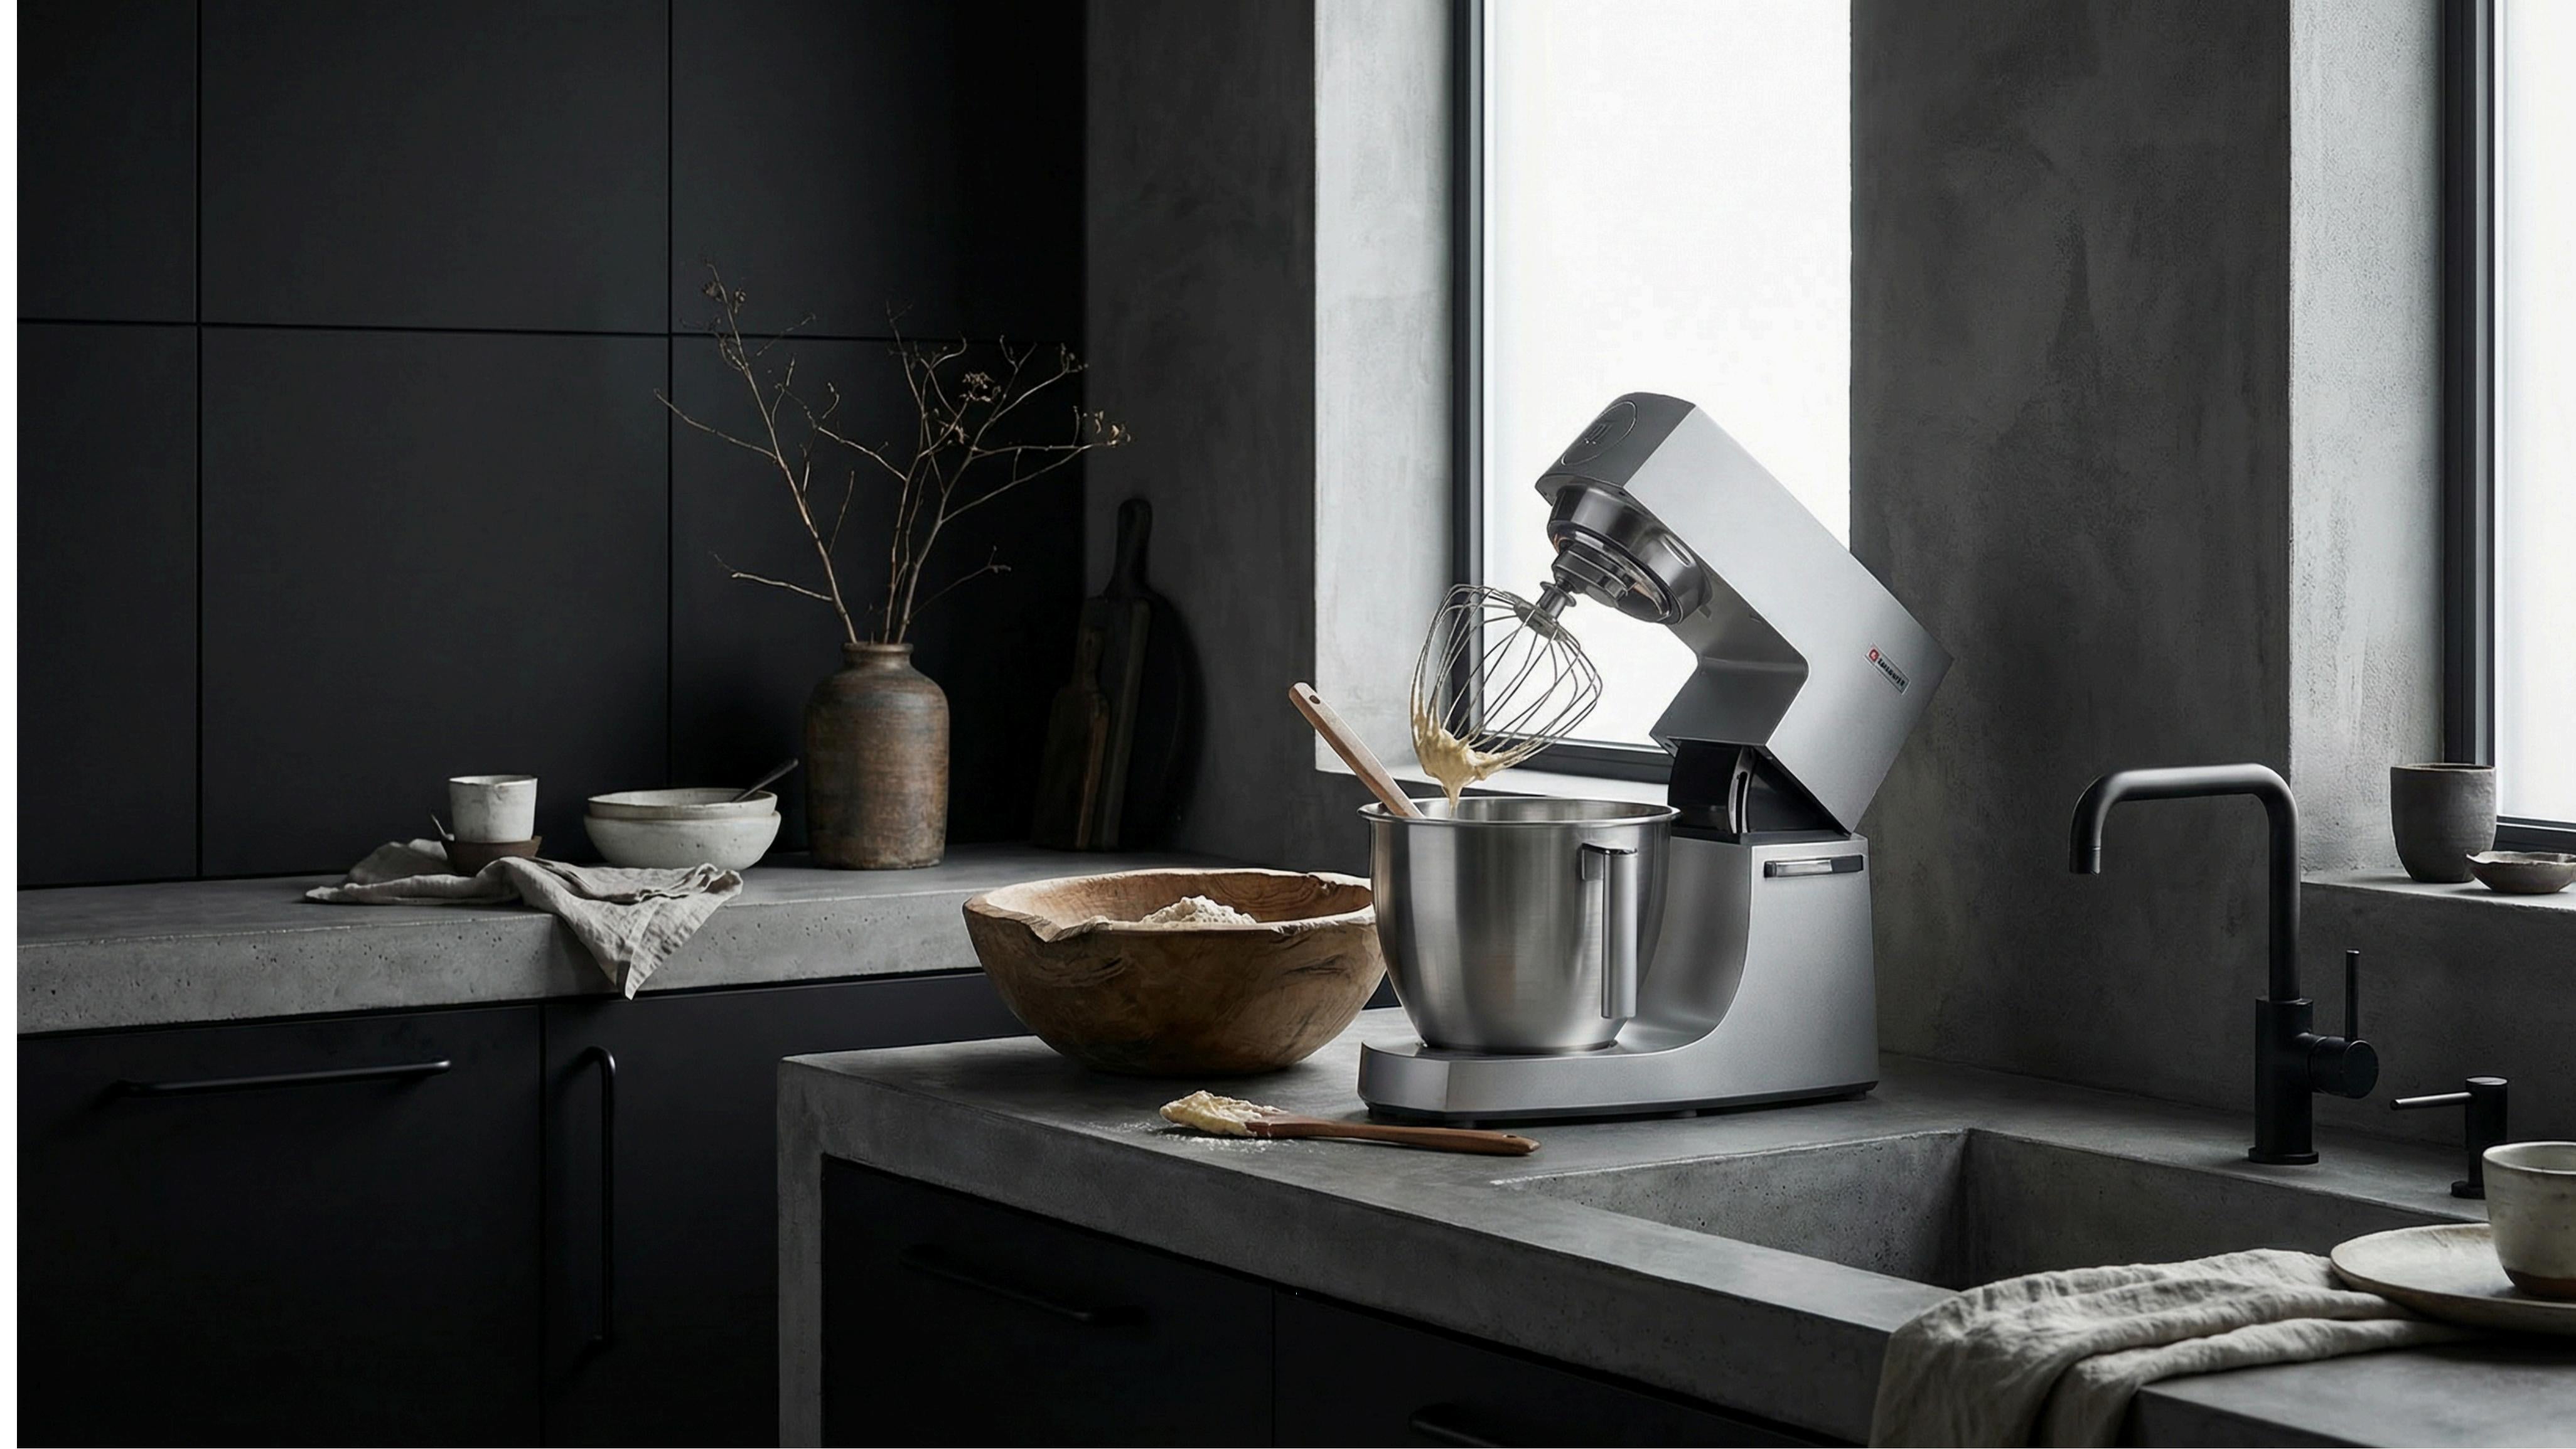
You add flour, water, yeast, salt. You lock the bowl, drop the dough hook, and flip the switch. Thirty seconds in, the mixer starts rocking. A minute later, the dough is climbing the hook like it's trying to escape. By minute three, the mixer has shuffled three inches to the left, and you're standing there holding it down with both hands. For a deeper dive into motor power, see our guide on how many watts you actually need for bread dough.
That's bread dough in a stand mixer — and it goes wrong more often than recipe writers admit.
Most bread recipes treat the mixer as a glorified pair of hands. Mix 5 minutes. Knead until smooth. Done. But what smooth actually looks like, what speed to use, how much flour your mixer can actually handle without burning out — those details get skipped. And if your loaf comes out dense and chewy, you're left wondering whether the problem was the flour, the yeast, or the machine.
This guide covers the part that recipes leave out. You'll learn how to set the right speed, how long to knead based on your mixer's motor type (not a generic timer), exactly how much dough your mixer can handle by hydration level, and how to fix the four most common problems — including the one where your mixer walks off the counter.
For the attachment itself — speeds, kneading times, and why dough climbs the hook — see our complete dough hook guide.
Why Use a Stand Mixer for Bread Dough?
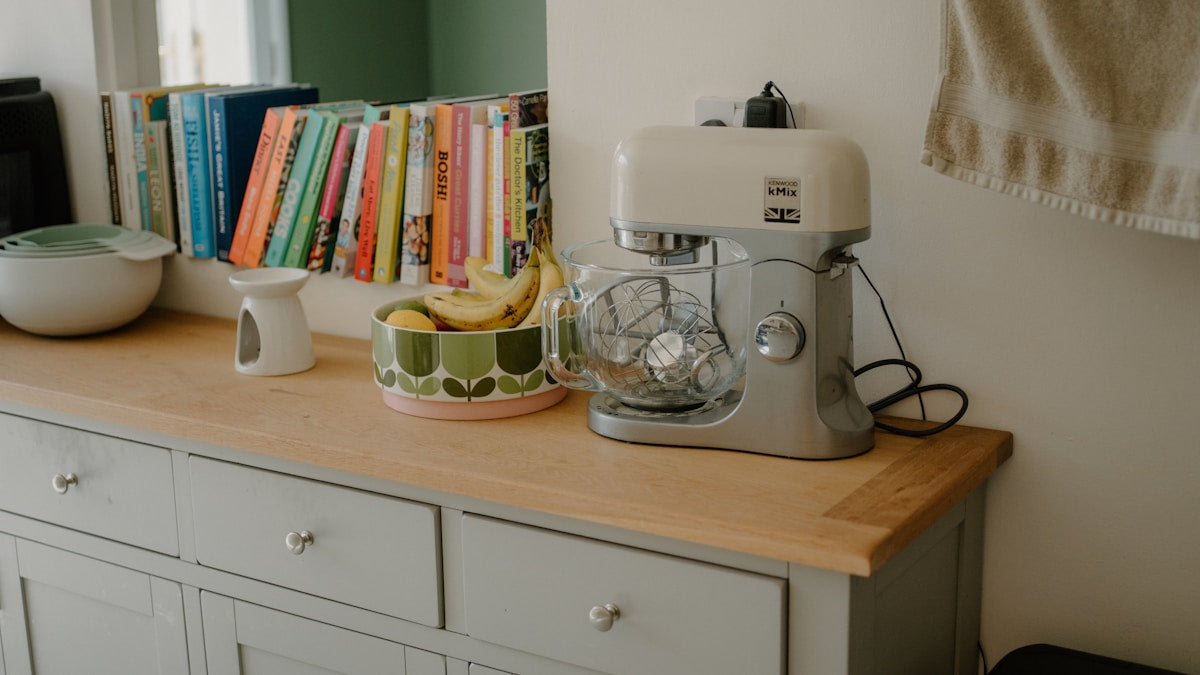
The short answer: consistency and time. A stand mixer kneads at a steady pace without getting tired. Your arms, no matter how strong, will never match the even pressure a dough hook applies over 8 straight minutes.
But there's a real trade-off. Hand kneading gives you direct feedback — you feel the dough tighten, you sense when gluten is developed. A mixer removes that touch. You need to learn visual cues to replace what your hands would normally tell you. This guide is built around those cues.
Here's what the data says about the difference:
| Stand Mixer Kneading | Hand Kneading | |
|---|---|---|
| Time to full gluten development | 5–8 minutes at speed 2 (varies by motor type) | 10–15 minutes, depending on technique |
| Consistency | High — even torque, predictable results | Variable — depends on your energy and technique |
| Dough temperature increase | 3–5°F with DC motor; 8–12°F with AC motor | 2–4°F (your hands don't generate heat) |
| Risk of over-kneading | Moderate — you can walk away too long | Low — your arms give out first |
| Ideal for high-hydration doughs (75%+) | Yes — stickier doughs are easier to manage | Difficult — requires advanced technique |
| Ideal for stiff doughs (bagels, pasta) | Depends on motor type — DC motors handle it; AC motors strain | Yes, with effort |
The stand mixer wins on consistency. But the motor type matters more than most buyers realize. A DC motor (direct current, using permanent magnets) delivers constant torque at low speeds — the dough hook keeps turning at the same rate even as the dough stiffens. An AC motor (alternating current, using electrical brushes) loses torque as resistance increases, so the mixer slows down when the dough gets tough.
In practice: a DC motor stand mixer kneads a stiff bagel dough at a steady speed 2 for the full duration. An AC motor mixer starts at speed 2, drops to an effective speed 1 as the dough develops, and generates more heat doing it. Same recipe, different machines, different results. That's why kneading time can't be a fixed number — it depends on what's turning the hook.
How Much Dough Can Your Stand Mixer Actually Handle?
This is the question that gets asked on every baking forum and answered in almost no recipe. "How much flour can my mixer handle?" doesn't have a single answer — it depends on hydration.
Hydration is the ratio of water weight to flour weight, expressed as a percentage. A 65% hydration dough — standard for sandwich bread — means 650g of water for every 1,000g of flour. Higher hydration = softer, stickier dough = less resistance on the motor. Lower hydration = stiffer dough = more resistance.
Here's what different hydration levels mean for your mixer's capacity:
| Dough Type | Hydration | Motor Load | Max Flour (5.5qt DC Motor) | Max Flour (5qt AC Motor) |
|---|---|---|---|---|
| Bagels, stiff pasta dough | 50–57% | Very high — strains most AC motors | 600–800g | 400–500g |
| Standard sandwich bread | 60–67% | Moderate | 1,200–1,500g | 700–900g |
| Artisan boule, ciabatta | 70–80% | Low — dough is soft and extensible | 1,500–1,800g | 1,000–1,200g |
| Focaccia, pan de cristal | 85–100% | Very low — more batter than dough | 1,800g+ | 1,200–1,500g |
The numbers above are guidelines, not absolutes. But the pattern is clear: the stiffer the dough, the less flour your mixer can handle. A recipe that says "makes 2 lbs of dough" tells you nothing about whether your mixer can handle it — you need to know the hydration and the flour weight. If you're deciding between mixer styles, our tilt-head vs bowl-lift comparison breaks down which design handles heavy dough better.
A practical rule of thumb: if you bake bread weekly, look for a mixer with a DC motor and at least a 5.5qt bowl. The Hauswirt M5max, for example, uses a 500W DC motor rated for 1,500g of flour capacity — and because DC motors don't lose torque under load, that rating holds even for moderately stiff doughs. AC motor mixers with similar bowl sizes often quote the same capacity on the spec sheet but struggle in practice once hydration drops below 60%. For a full breakdown of what to look for in a mixer for bread, our stand mixer buying guide covers motor types, bowl sizes, and pricing in detail.
Step-by-Step: How to Make Bread Dough in a Stand Mixer
Before You Start: Ingredients and Temperature
Three things determine whether your bread works before the mixer even turns on:
Flour protein content. Bread flour (12–14% protein) builds gluten faster and stronger than all-purpose (9–11%). If a recipe calls for bread flour and you use all-purpose, the dough will feel wetter at the same hydration and take longer to develop. Don't swap without adjusting.
Water temperature. Your target final dough temperature after kneading is 75–80°F. If your kitchen is 70°F and you're using an AC motor mixer (which adds 8–12°F during kneading), your water should be around 65–70°F. With a DC motor mixer (which adds only 3–5°F), use water at 70–75°F. A $10 instant-read thermometer eliminates the guesswork.
Autolyse — the 20-minute head start. Before you add yeast and salt, mix just the flour and water and let it sit for 20–30 minutes. This rest period lets the flour fully hydrate and begins gluten development without any mechanical work. It's the single highest-impact, lowest-effort thing you can do to improve your bread. After an autolyse, your mixer does less work, the dough heats up less, and the final texture is noticeably better. (King Arthur Baking, 2024)
Speed Settings: What Speed to Use for Bread Dough
Speed 2. That's the answer for almost every stand mixer on the market. Not speed 4. Not "medium." Speed 2.
Here's why: the dough hook works by stretching and folding the dough against the sides of the bowl. At speed 2, each rotation gives the dough time to catch the bowl wall, stretch, and fold over itself. At speed 4, the hook whips through the dough without engaging it — you get cavitation, where the hook spins inside a pocket of dough without actually kneading it.
Higher speeds also generate friction heat. The USDA recommends bread dough not exceed 80°F during mixing to avoid over-fermentation and off-flavors (USDA Food Safety Guidelines, 2023). An AC motor at speed 4 can push dough temperature past 85°F in under 5 minutes. A DC motor at speed 2 typically raises temperature by only 3–5°F over 8 minutes.
Speed 1: Use for the initial mix — combining flour, water, yeast, and salt into a shaggy mass. This takes 1–2 minutes. Speed 2: Use for kneading. Speed 3+: Not for bread dough.
The Kneading Process
Step 1: Initial mix (1–2 minutes, speed 1). Add all ingredients to the bowl. Run on speed 1 (sometimes labeled "Stir") until a rough, shaggy dough forms and no dry flour remains visible. Scrape down the sides of the bowl once during this stage.
Step 2: Kneading phase (5–8 minutes, speed 2). Turn the mixer to speed 2. Let it run. Don't walk away — you need to watch the dough, not the clock.
Here's what you'll see, in order:
- 0–2 minutes: The dough looks rough and shaggy. It sticks to the bowl in patches. The dough hook slips occasionally. This is normal.
- 2–4 minutes: The dough starts to smooth out. It begins pulling away from the sides of the bowl but the bottom may still stick. You'll see the dough hook actually catching and stretching the dough, not just spinning inside it.
- 4–6 minutes: This is the sweet spot for most white bread doughs. The dough clears the bowl sides completely. It wraps around the hook but doesn't climb all the way up. If you stop the mixer and pull a small piece, it stretches thin enough to let light through without tearing — the windowpane test.
- 6–8 minutes: The dough is smooth, supple, and elastic. When you press a finger into it, the indentation springs back. If you're making enriched dough (with butter, eggs, milk), you may need the full 8 minutes.
Step 3: The windowpane test (the real check). Stop the mixer. Pull off a golf ball-sized piece of dough. Gently stretch it between your fingers, rotating as you go. If it stretches into a thin, translucent membrane without tearing, gluten is developed. If it tears before becoming translucent, knead for 1 more minute and test again.
Important: Whole wheat doughs will never form a fully translucent windowpane. The bran physically cuts gluten strands as they form. For whole wheat, stop kneading when the dough feels smooth and elastic and springs back when poked — usually 4–6 minutes on speed 2, no more. Over-kneading whole wheat dough makes it tough and tight because the bran has more time to shred the developing gluten network.
How Long to Knead: The Visual Cues That Matter More Than the Clock
Every recipe gives a time. Few explain what you're actually waiting for. Here's what "done" looks like, across the stages:
| Visual Cue | What It Means | Action |
|---|---|---|
| Dough clears bowl sides but bottom sticks | Gluten is developing but not complete — dough still needs more structure to lift fully off the bowl | Knead 1–2 more minutes, then check again |
| Dough wraps hook, clears sides AND bottom | Gluten network is formed — dough has enough strength to hold itself together without bowl support | Do the windowpane test |
| Dough climbs the hook all the way to the top | Dough is too stiff or over-kneaded — it's gripping the hook too aggressively because it's tight | Reduce speed, add 1 tsp water, monitor |
| Dough was a ball, now it's slumping and sticky | Over-kneaded — gluten network has broken down, dough can no longer hold its shape | Unfortunately, you can't fix this. Start a new batch and reduce kneading time by 2 minutes |
| Smooth, slightly tacky but not sticky, springs back when poked | Done — dough is ready for bulk fermentation | Move dough to a lightly oiled bowl and cover |
The "dough clears the bowl" cue is the most reliable one for everyday baking. When the dough pulls away from the sides cleanly and only the very bottom center sticks slightly — a "shallow puddle" effect on the bowl floor — you're there.
The Problem No Recipe Mentions: Why Your Mixer Walks
If you've ever had to hold your mixer down while it kneads, you already know this problem. The technical term is "walking" — the mixer vibrates and shifts across the counter during kneading. It's not a defect. It's physics. And it's fixable.
Three things cause walking, usually in combination:
1. Low-hydration dough. Stiff doughs resist the dough hook more. That resistance transfers to the mixer body and ultimately to your counter. Bagel dough (55% hydration) will make almost any mixer move. Sandwich bread dough (65% hydration) usually won't.
2. AC motor torque drop. When an AC motor meets resistance, its speed drops and its vibration increases. The mixer isn't just struggling — it's oscillating at an uneven rate, and that irregular motion is what makes it walk. A DC motor maintains constant torque and even rotation, which dramatically reduces walking. In side-by-side tests, DC motor mixers show measurably less movement on stiff doughs than comparable AC motor models (America's Test Kitchen, 2025).
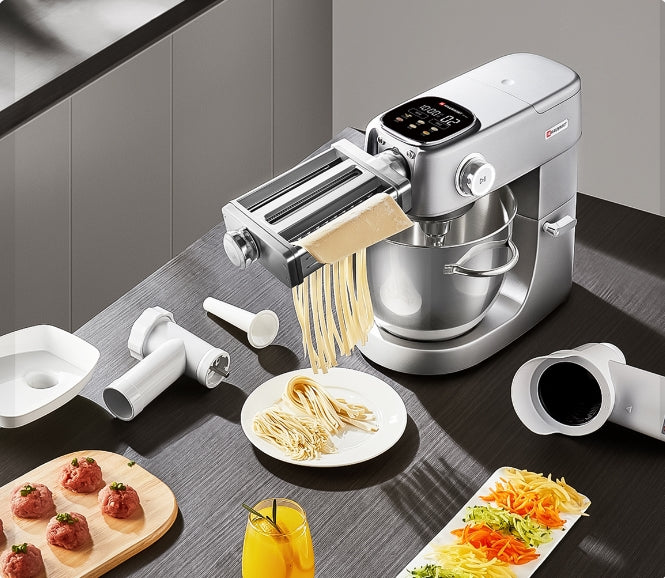
3. C-hook vs. spiral hook. Most stand mixers ship with a C-shaped dough hook. It's called that because, well, it looks like a C. The problem: a C-hook pushes dough outward against the bowl wall, creating lateral force on the mixer head. A spiral dough hook pushes dough downward, directing force into the base instead of the sides. The Hauswirt M5max includes a spiral stand mixer hook design that reduces lateral force transfer — less counter-walking by design.
Quick fixes if your mixer walks: Place a damp kitchen towel under the mixer base (adds friction). Knead at speed 2, not higher. Reduce batch size if the dough is very stiff. If the problem is persistent across recipes, the mixer's motor type is likely the root cause — AC motors will always walk more than DC motors on stiff doughs.
Troubleshooting: 5 Common Bread Dough Problems
1. Dough Climbs the Hook
The dough wraps around the hook and rides all the way up to the collar — sometimes right into the mixer head. This happens when dough is too stiff (low hydration) or too developed (over-kneaded, gluten too tight). The dough grips the hook and can't release, so it climbs.
Fix: Stop the mixer. Scrape the dough off the hook and back into the bowl. Add 1–2 teaspoons of water. Restart at speed 1 for 30 seconds, then return to speed 2. The extra moisture relaxes the gluten just enough to let the dough release. If it keeps climbing, your dough is too stiff for the hook design — add water in 1-tsp increments until it stops.
2. Mixer Struggles or Stalls on Stiff Dough
You hear the motor pitch drop. The hook spins slower. If you're using an AC motor mixer, this is the torque limit kicking in — the motor literally can't maintain speed against the resistance. If you keep running it, the motor will overheat. Most AC mixers have a thermal fuse that shuts them off before permanent damage, but repeated thermal shutdowns degrade the motor over time.
Fix: Stop immediately. Remove half the dough and knead in two batches. For next time: check your mixer's capacity rating and stay within it. If you regularly make stiff doughs (bagels, low-hydration whole wheat), a DC motor mixer is the right long-term solution — it won't stall at any hydration that a 5.5qt bowl can physically contain.
3. Dough Is Too Sticky After Kneading
It's sticking to everything — the bowl, the hook, your hands. Your instinct says add more flour. Don't. Not yet.
Sticky dough at the start of kneading is normal, especially above 70% hydration. Gluten hasn't formed yet, so the dough can't hold itself together. Give it 3–4 minutes at speed 2 before you judge. Most doughs that start sticky become manageable as gluten develops and absorbs the free water.
If the dough is still unworkably sticky after 5 minutes of kneading: add flour 1 tablespoon at a time, waiting 30 seconds between additions. It's easy to overshoot and end up with dough that's too dry. A slightly sticky dough makes better bread than a dry one — extra flour at this stage locks in a lower hydration ratio that you can't reverse.
4. Over-Kneaded Dough — Yes, a Stand Mixer Can Do This
Conventional baking wisdom says you can't over-knead by hand. It's true — your arms give out long before the gluten breaks down. But a stand mixer has no arms. It will keep going.
The telltale sign: your dough forms a tight ball, then suddenly relaxes and becomes sticky and slack again. The gluten network has torn. The dough can't hold gas anymore, which means poor rise and a dense, crumbly loaf.
Prevention is the only fix. Once gluten breaks down, it cannot be repaired. You have to start over. Set a timer. Check the dough every minute after minute 5. The window from "perfect" to "ruined" is only about 2–3 minutes in a stand mixer. And never, ever walk away from a running mixer while kneading bread dough.
5. Whole Wheat Dough Feels Different — And That's Normal
Whole wheat dough will never feel like white flour dough. The bran and germ particles physically interfere with gluten formation — think of them as tiny razors cutting gluten strands as they form (King Arthur Baking, 2024). Your dough will feel denser, less elastic, and it won't pass a classic windowpane test. That's not failure. It's whole wheat.
What to do differently: use an autolyse (no exceptions — the bran needs extra time to soften), knead for 4–5 minutes max at speed 2 (longer kneading lets the bran shred more gluten), and expect a dough that feels slightly tacky and pulls apart more easily than white dough. For 100% whole wheat loaves, many experienced bakers mix in 25% bread flour to boost gluten strength — it's not cheating, it's engineering.

Hauswirt M5 Max 6QT Stand Mixer for Effortless Home Baking
500W DC Motor | 6QT Bowl | 45dB Quiet | 4.5" Touchscreen
Frequently Asked Questions
Can a stand mixer replace kneading by hand entirely?
Yes, for almost every bread type. A stand mixer with a dough hook produces more consistent gluten development than hand kneading because it maintains steady pressure and speed. The one exception: very small batches (under 300g of flour) where the dough hook can't effectively catch the dough — in that case, hand kneading works better.
How long should I knead bread dough in a stand mixer?
Most white bread doughs need 5–8 minutes at speed 2. But time varies by flour type, hydration, and motor power — DC motor mixers typically finish 20–30% faster because they maintain consistent torque. The windowpane test is more reliable than any timer: pull a small piece of dough and stretch it. If it forms a thin, translucent membrane without tearing, the dough is ready.
What speed do you use to knead bread dough in a stand mixer?
Speed 2. Higher speeds cause the dough hook to spin through the dough without actually kneading it, generate excess friction heat, and strain the motor. Speed 1 is for the initial mix (combining ingredients). Speed 2 is for kneading. Anything above speed 2 is for whipping cream and egg whites — not bread dough.
Why does my stand mixer walk across the counter when kneading?
Walking happens when stiff dough creates resistance that transfers through the mixer body to the counter. Three main causes: low-hydration dough (under 60%), AC motor vibration at high load, and C-shaped dough hooks that push dough sideways instead of downward. The fix: use a damp towel under the mixer base, reduce speed to 2, and if the problem persists with stiff doughs, consider a DC motor mixer with a spiral dough hook.
Can I make sourdough in a stand mixer?
Yes. Sourdough typically uses higher hydration (70–80%) and benefits from the same kneading process as yeasted dough, with one adjustment: reduce kneading time by 1–2 minutes. Sourdough's long fermentation already develops gluten, so aggressive mechanical kneading can over-develop it. Mix until the dough just clears the bowl sides, then let fermentation do the rest.
How much bread dough can a KitchenAid stand mixer handle?
KitchenAid's official guidance: the 4.5qt Artisan tilt-head handles up to 500g of flour (roughly one standard loaf); the 5qt bowl-lift models handle up to 800g; the 7qt Pro Line handles up to 1,200g. These limits drop significantly for stiff, low-hydration doughs like bagels. If you regularly bake bread with more than 800g of flour, a bowl-lift mixer with a DC motor is a more appropriate tool — it won't strain or overheat at higher capacities.
The Bottom Line
Making bread dough in a stand mixer isn't complicated. But it is specific — and most recipes skip the specifics.
Use speed 2. Watch the dough, not the clock. Know your mixer's limits by hydration level, not just bowl size. If your dough climbs the hook, add a teaspoon of water. If your mixer walks, put a damp towel under it — or upgrade to a DC motor mixer that won't fight you on stiff doughs. For our top picks by motor class and loaf capacity, see the best stand mixer for bread dough guide.
The difference between a good loaf and a great one often comes down to the details recipes don't mention. Now you know them.
Sources
- America's Test Kitchen. "Stand Mixer Reviews and Testing." 2025. Equipment testing lab that conducts controlled kneading tests across mixer brands, measuring speed consistency under load, noise levels, and dough temperature rise.
- King Arthur Baking. "Bread Baking Guide: Techniques and Ingredients." 2024. Commercial bakery and flour company with a published library of bread technique documentation, including flour protein analysis and whole wheat handling guidelines.
- USDA Food Safety and Inspection Service. "Bread Dough Temperature Guidelines." 2023. Federal food safety authority providing recommended temperature ranges for dough during mixing and fermentation.
- "A Bread Baking Tutorial for Beginners." Little Village Homestead. YouTube, 2024. Step-by-step stand mixer bread tutorial with kneading and visual cue demonstrations.
- "How to Make YEAST BREAD Using a STAND MIXER." Red Star Yeast. YouTube, 2024. Commercial yeast manufacturer's published kneading guide with speed and timing recommendations.
- The Fresh Loaf. "How to Knead Using a Stand Mixer." Community forum thread, 2022. Detailed discussion among home and professional bakers covering edge cases in stand mixer kneading, including over-kneading signals and hydration-specific adjustments.
