Key Takeaways
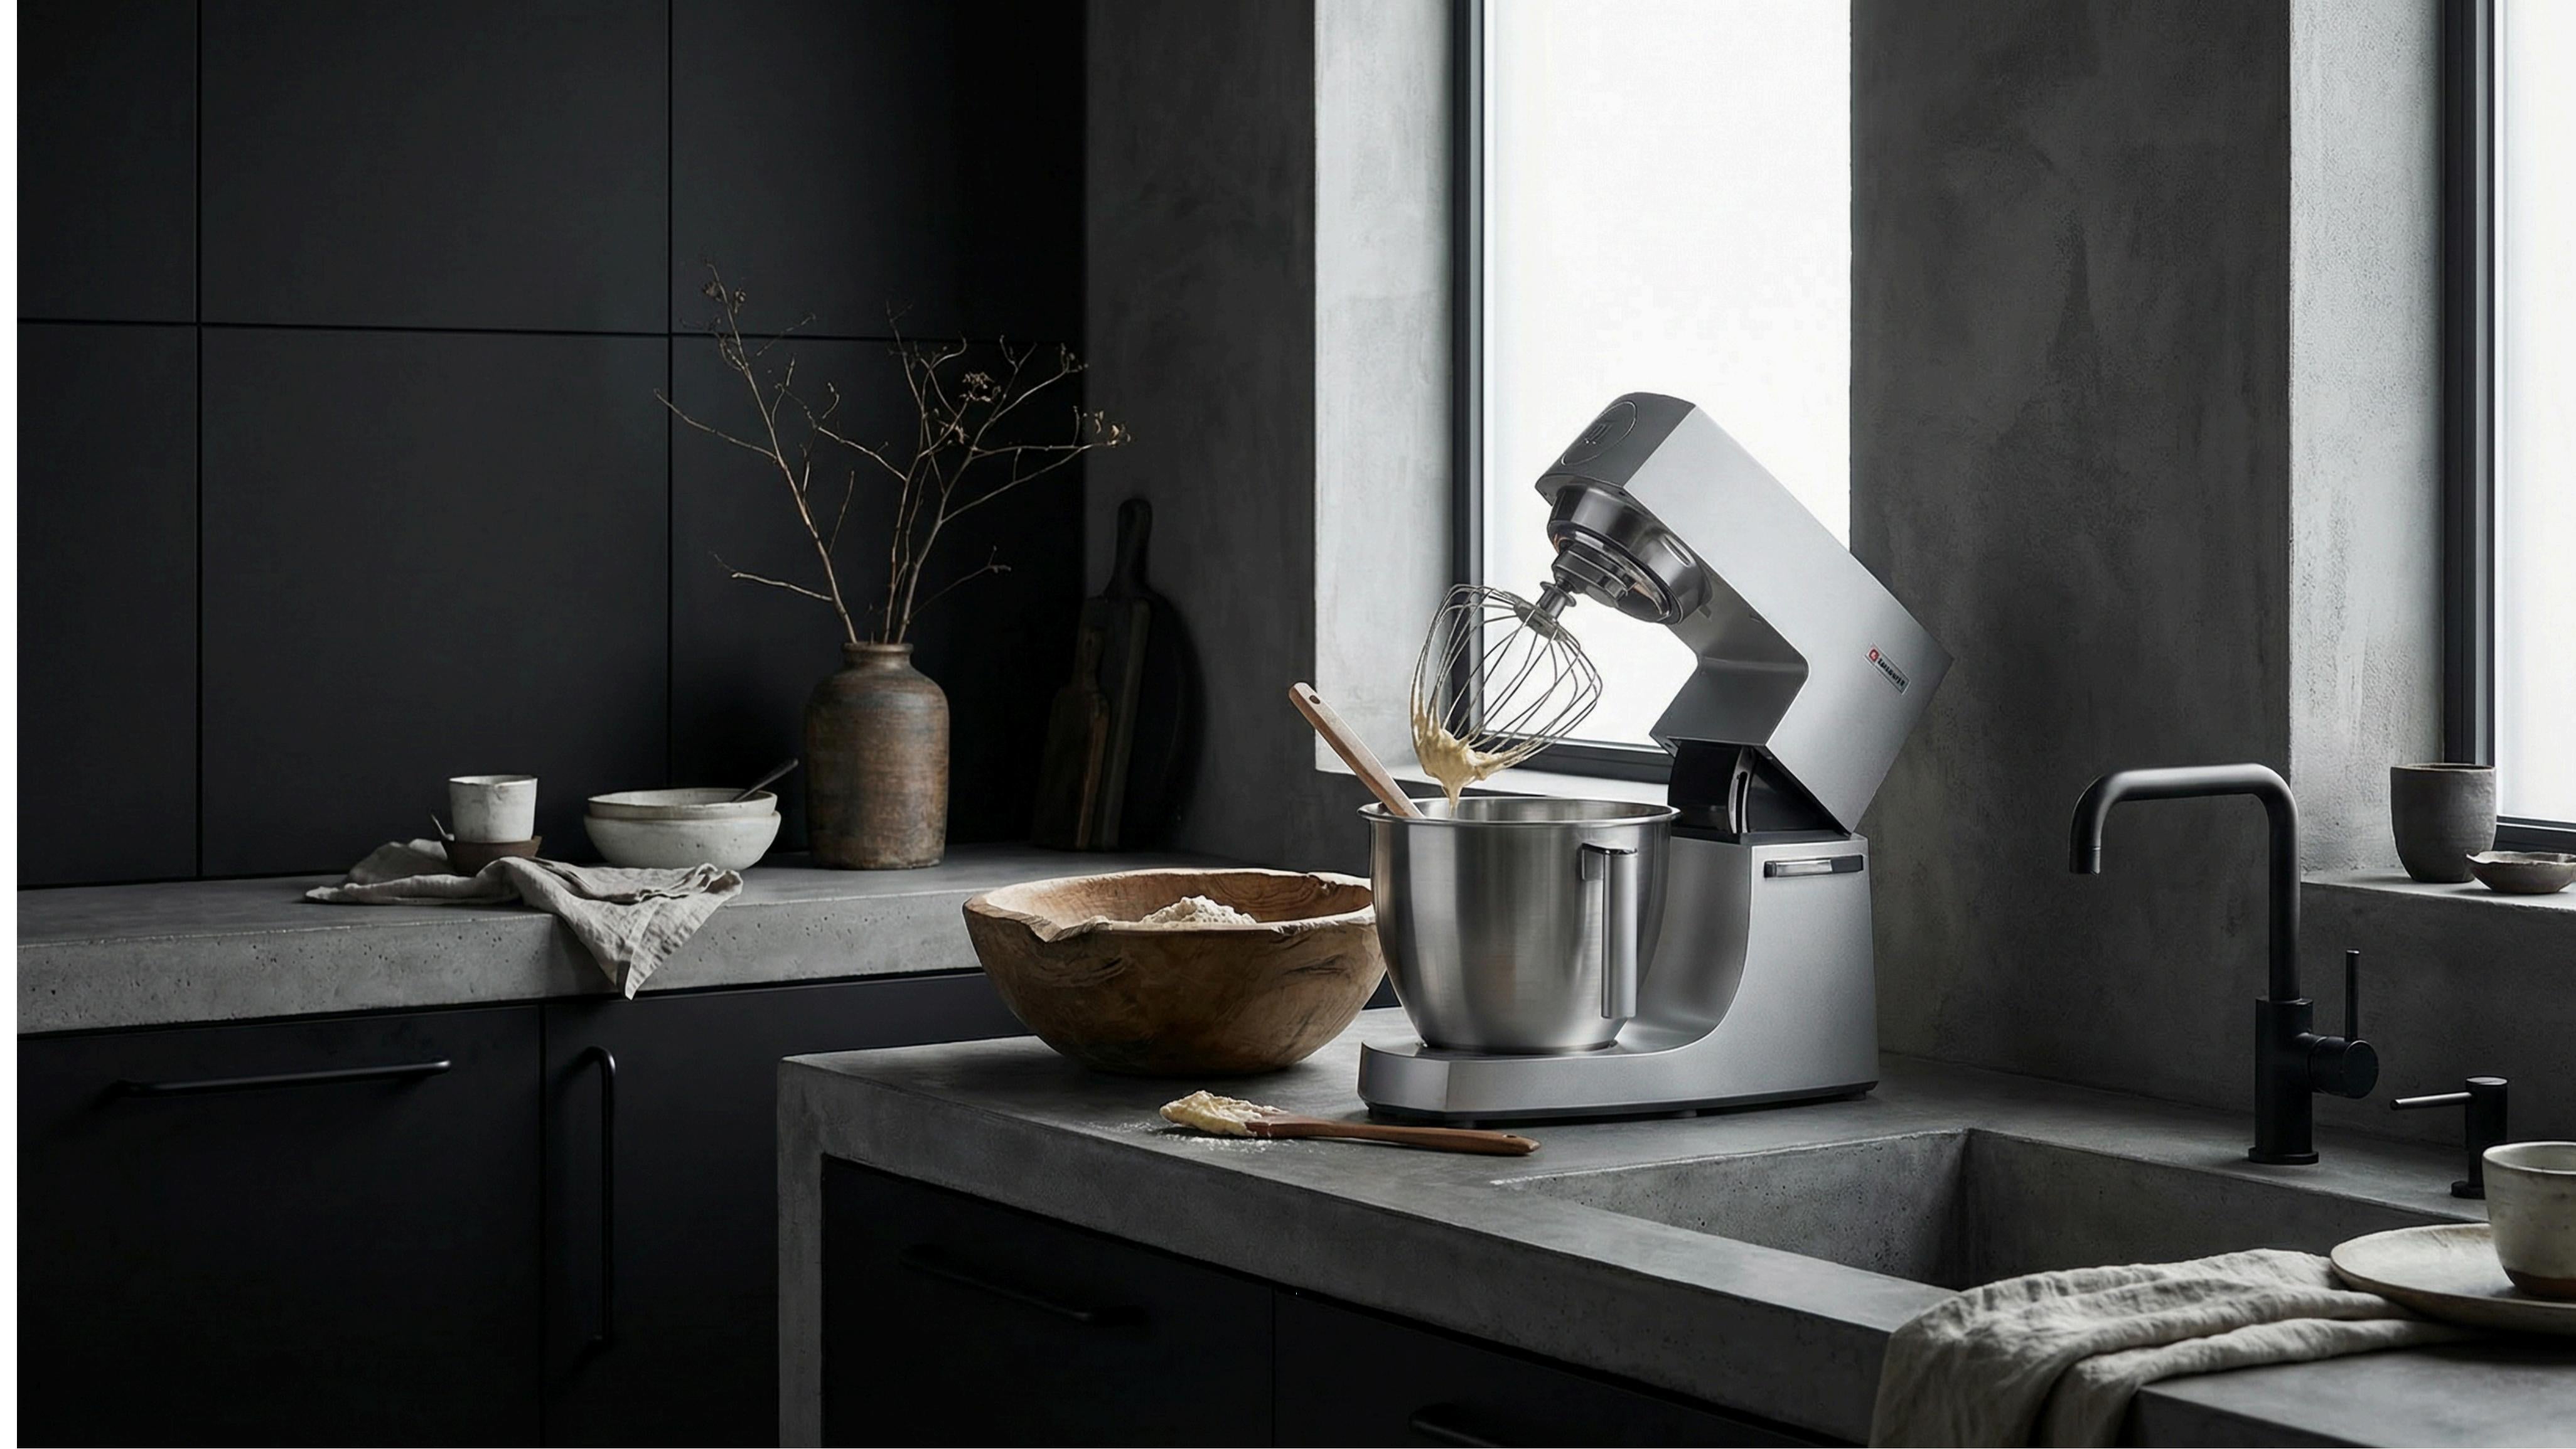
- A stand mixer makes flakier pie crust than a food processor. The paddle attachment cuts butter into pea-sized chunks more gently than a fast-spinning blade, leaving larger, flatter butter pieces that create distinct steam pockets during baking. The result: visibly layered, shatteringly flaky crust with less risk of overworking the dough.
- All-butter crust is the gold standard — but butter + 25% shortening is the most forgiving blend for beginners. Butter's 15-20% water content creates the steam that puffs layers apart. Shortening adds tenderness and makes the dough easier to handle. If you're making your first pie, start with the 3:1 butter-to-shortening blend.
- Temperature control determines everything. Cold butter, ice water, and a chilled mixer bowl are non-negotiable. If the butter softens before the dough hits the oven, the water in the butter binds to flour prematurely and your crust comes out dense and greasy instead of light and flaky.
- The vodka trick works — replace up to half the water with ice-cold vodka. Ethanol doesn't activate gluten, so you can add enough liquid to make the dough easy to roll without developing toughness. The alcohol evaporates completely during baking, leaving no taste.
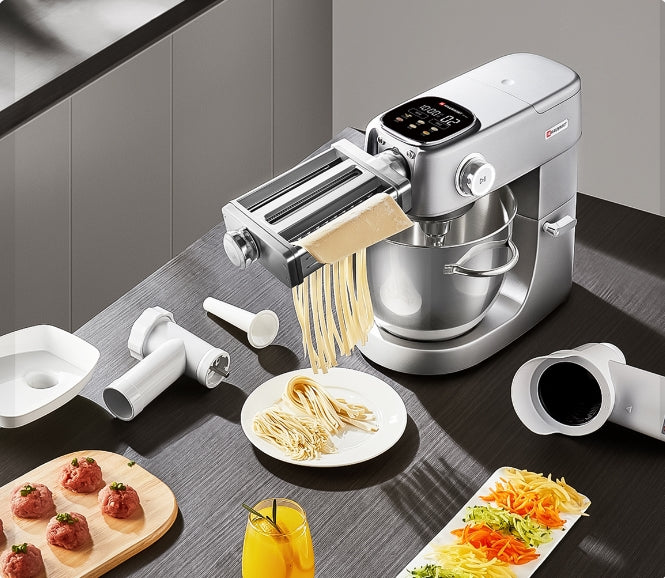
- The stand mixer's real advantage isn't speed — it's consistency across large batches. Making dough for 3+ pies by hand is exhausting and uneven. A stand mixer processes enough dough for a double-crust pie in under 2 minutes on low speed, with identical results every time.
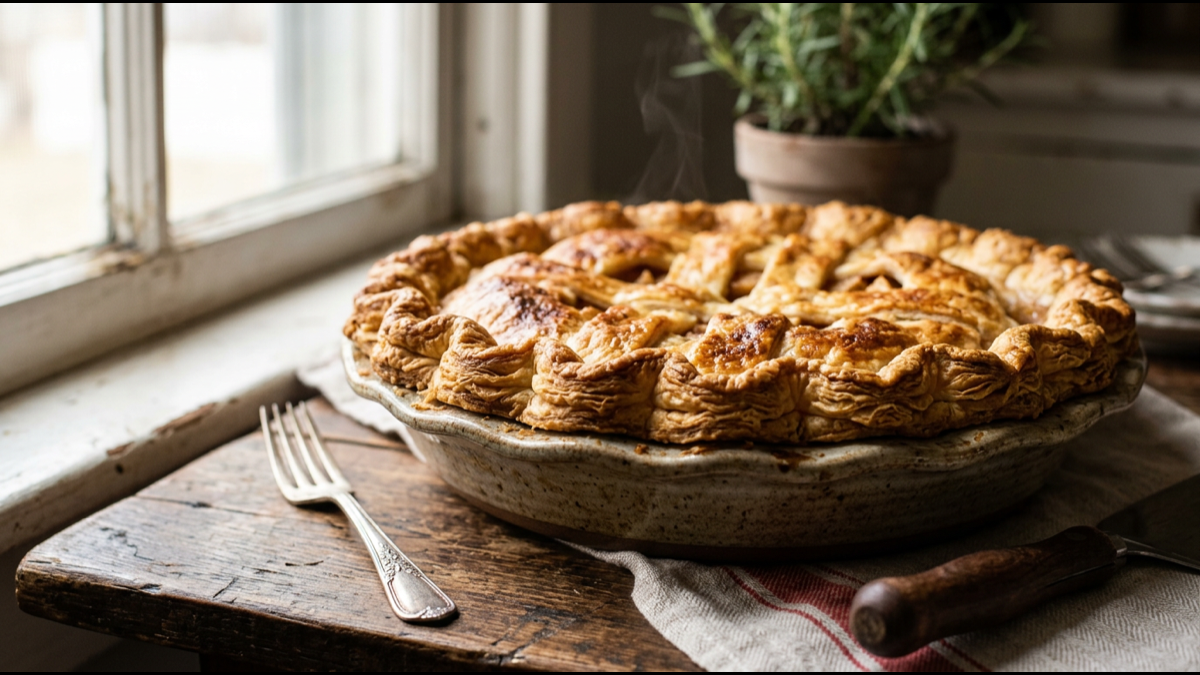
Pie crust has a reputation. "Hardest thing in baking." "My grandmother could do it but I can't." "I've tried six times and it's always tough."
Most of those failures come down to one variable: how the butter gets cut into the flour. Do it right — with cold fat, a light touch, and visible butter chunks — and you get flaky, tender, golden pastry. Do it wrong — warm butter, overworking, fat cut too fine — and you get a dense, greasy cracker.
A stand mixer happens to be the best tool for getting this step right. Not the fastest (that's a food processor). Not the most traditional (that's your hands). But the most controllable — and in pie crust, control is everything.
This guide covers the entire process: the science of flakiness, which fat to use, the right attachment, the exact method, the vodka trick, blind baking, troubleshooting, and how to make dough ahead and freeze it.
Stand Mixer vs. Food Processor vs. By Hand: Which Method Wins?
Every pie crust method has the same goal: coat flour proteins with fat, then add just enough water to bind, while developing as little gluten as possible. The difference is how each tool handles the fat.
| Method | How It Cuts Fat | Flakiness | Risk of Overworking | Best For |
|---|---|---|---|---|
| Stand Mixer (Paddle) | Paddle presses and smears butter into flat, irregular pieces | Highest — large, flat butter chunks create the most distinct steam layers | Low — slow mixing speed gives you a wide window to stop | Maximum flakiness; large batches; hands-off process |
| Food Processor | Blade chops butter into uniform small pellets at high speed | Medium-high — consistent but smaller pieces produce finer layers | High — pulses go from "not ready" to "overmixed" in 2-3 seconds | Speed and convenience; consistent results once you learn the pulse rhythm |
| By Hand (Fingertips/Pastry Cutter) | Fingers press and smear butter; most control over piece size | High — you can intentionally create flat, visible butter streaks | Low — you can feel the dough changing and stop instantly | Ultimate control; small batches; tradition |
The stand mixer's advantage is mechanical: the paddle attachment presses butter into flat, irregular chunks against the bowl sides — exactly the shape that creates defined flaky layers during baking. A food processor's blade chops butter into uniform pebbles, which work but don't create the same dramatic lift. Your hands can do what the paddle does, but not as consistently, and not for 3 pies at once.
If you already own a stand mixer, use it. The results are as good or better than any other method — and you don't need to buy a food processor.
The Science of Flaky Pie Crust
Flakiness isn't a mystery. It's steam doing mechanical work.
When solid butter pieces, distributed throughout the dough, hit a hot oven, two things happen in sequence: First, the butter melts, leaving empty pockets in the flour structure. Then, the water inside the butter (about 15-20% of butter's weight) turns to steam at 212°F. That steam expands rapidly — roughly 1,600 times in volume — forcing the dough layers apart like a microscopic piston.
This is the same physics that makes puff pastry rise, just at a smaller scale. And it's why two rules override everything else:
- The butter must be cold and solid when the dough enters the oven. If butter melts before baking, the water is already free and just hydrates flour — no pockets, no steam pressure, no flakiness.
- The butter pieces must be visible — pea-sized or slightly larger, flat and irregular. Tiny, uniform pieces (what a food processor tends to make) create many small, indistinct layers rather than big, dramatic ones. You want to see butter chunks in the rolled dough.
Every technique in pie crust — cold ingredients, minimal mixing, resting, chilling, high initial oven temperature — exists to protect one or both of these conditions.
Choosing Your Fat: Butter, Shortening, or a Blend
| Fat | Fat % | Water % | Flavor | Flakiness | Tenderness | Ease of Handling |
|---|---|---|---|---|---|---|
| Butter | ~80% | 15-20% | Rich, nutty, unmistakable | Highest — steam from water content | Good | Moderate — low melting point requires cold management |
| Shortening | 100% | 0% | Neutral to bland | Low — no water = no steam | Highest — 100% fat coats gluten most effectively | Easiest — high melting point, dough stays workable |
| Lard | 100% | 0% | Subtle savory note; clashes with fruit | Medium — larger fat crystals than butter | High | Easy — similar to shortening |
| 75% Butter + 25% Shortening | ~85% | ~11% | Buttery, slight flavor dilution | High — enough water for steam | Very high | Good — more forgiving than all-butter |
All-butter is the gold standard for flavor and flakiness. Nothing else tastes like butter, and no other fat delivers the steam-driven layer separation that butter's water content provides.
The 3:1 butter-to-shortening blend is the pragmatic choice for beginners. Shortening has zero water and a higher melting point. Adding just 25% shortening makes the dough significantly more forgiving — it holds crimped edges better, shrinks less, and stays workable longer on a warm countertop. You lose a small amount of flavor, but you gain a much wider margin for error.
Lard is the wild card. Leaf lard (from around the pig's kidneys) is the gold standard — neutral flavor, fine texture, exceptional crispness. Generic supermarket lard can taste porky and perform inconsistently. If you can get high-quality leaf lard, it makes outstanding savory pie crust. For fruit pies, stick to butter or the butter-shortening blend.
The Right Flour and the Right Attachment
Flour: All-Purpose Is What You Want
Use standard all-purpose flour (10-12% protein). King Arthur All-Purpose (~11.7%) is ideal — enough structure to hold together during rolling without being tough. Avoid bread flour (too much gluten, crust turns tough) and cake flour (too little protein, crust crumbles). Pastry flour (8-9% protein) works but isn't necessary.
Attachment: Flat Beater (Paddle) or Pastry Beater
The standard flat beater (paddle) is the correct attachment for pie crust in a stand mixer. It presses butter into flour rather than chopping it, creating the flat, irregular pieces that become flaky layers.
The pastry beater (KitchenAid KSMPB5 for tilt-head, KSMPB7 for bowl-lift) is a newer attachment designed specifically for cutting cold butter into flour. Its blade-like rim and flexible edge scrape the bowl while cutting, mimicking the motion of a pastry cutter. Reviews from high-volume pie bakers are strong — it cuts butter in faster than the standard paddle and reduces the chance of overmixing. But it's a specialty tool. The standard paddle works fine if you stop at the right moment.
Never use the dough hook. It's designed to develop gluten — exactly what you're trying to avoid.
Speed Settings by Mixer Brand
All pie crust mixing happens on low speed only. There is no "increase to medium" step. Low speed from start to finish.
| Mixer Brand | Cutting in Butter | Adding Water |
|---|---|---|
| KitchenAid Tilt-Head | Speed 2 | Stir (lowest) |
| KitchenAid Bowl-Lift | Speed 2 | Stir (lowest) |
| Hauswirt M5max | Speed 1-2 | Speed 1 |
| Bosch Universal Plus | Speed 1 | Speed 1 |
| Ankarsrum | Low (1-2 o'clock) | Lowest |
Step-by-Step: All-Butter Stand Mixer Pie Crust
| Ingredient | Single Crust (9-inch) | Double Crust (9-inch) |
|---|---|---|
| All-purpose flour | 1½ cups (180g) | 2½ cups (300g) |
| Cold unsalted butter | ½ cup / 1 stick (113g) | 1 cup / 2 sticks (226g) |
| Ice-cold water | 3-4 tbsp | 6-8 tbsp |
| Kosher salt | ¼ tsp | ½ tsp |
| Sugar (optional, for sweet pies) | 1 tbsp | 2 tbsp |
Step 1: Chill Everything
Cube the butter into ½-inch pieces. Place the cubed butter, the mixer bowl, and the paddle attachment in the fridge for at least 15 minutes. Fill a small cup with water and add ice cubes — you'll spoon from this when it's time to add liquid.
Cold is the primary anti-gluten defense. Every degree above refrigerator temperature makes the dough harder to handle and easier to overwork.
Step 2: Mix Dry Ingredients
Add flour, salt, and sugar (if using) to the chilled bowl. Attach the paddle. Mix on the lowest speed for 10 seconds to combine.
Step 3: Cut in the Butter
Add the cold butter cubes all at once. Mix on low speed (Speed 2 on most mixers) for 1-2 minutes. Stop and check: the largest butter pieces should be the size of small peas or flat lentil shapes, and the mixture should look like coarse meal with visible butter chunks coated in flour.
Do not mix until uniform. Inhomogeneous is the goal — the variation in butter piece size is what creates a mix of large and small flakes. If you see no visible butter pieces, you've gone too far.
Step 4: Add Ice Water — One Spoonful at a Time
Reduce speed to the lowest setting. Drizzle in ice-cold water one tablespoon at a time, waiting 3-5 seconds between additions. After the third tablespoon, stop and squeeze a handful of the mixture. If it holds together when pressed, you have enough water. If it crumbles apart, add another tablespoon and test again.
The exact amount varies — humidity, flour brand, and butter water content all affect absorption. Rely on the squeeze test, not the recipe number.
Step 5: Stop as Soon as It Holds Together
Stop the mixer the moment the dough begins to clump on the paddle and pull away from the bowl sides. It should look shaggy, not smooth. Overmixing at this stage develops gluten and melts butter — both of which make the crust tough.
If you see a smooth ball of dough, you've already gone 15-20 seconds too far. It'll still make a pie, but it won't be as flaky.
Step 6: Form Discs — Don't Knead
Dump the shaggy dough onto a lightly floured surface. Gather it together with your hands — do not knead. Gather, press, and shape into a disc about 1 inch thick. If making a double crust, divide into two slightly uneven discs (the bottom crust needs slightly more dough than the top).
The disc shape matters: rolling a disc into a circle is straightforward. Rolling a ball into a circle produces uneven thickness and more cracks at the edges.
Step 7: Wrap and Chill — Minimum 30 Minutes
Wrap each disc tightly in plastic wrap and refrigerate for at least 30 minutes. One hour is better. Overnight is ideal.
This rest period does three things: (1) gluten that formed despite your best efforts relaxes, making the dough easier to roll; (2) the butter re-solidifies completely; (3) flour fully hydrates, which improves texture. Skipping this step is the #1 cause of crust that shrinks during baking.
Step 8: Roll Out
Lightly flour your work surface and rolling pin. Remove one disc from the fridge and let it sit for 2-3 minutes — just until it yields slightly when pressed. If it cracks immediately, it's too cold; wait another minute.
Roll from the center outward in all four directions, rotating the dough a quarter turn between each pass. This keeps the thickness even and prevents sticking. Aim for ⅛-inch thickness — about 12-13 inches across for a standard 9-inch pie pan.
If the edges crack, pinch them back together. If the dough sticks, dust with a tiny amount of flour — but use as little as possible. Excess flour worked in during rolling is effectively more gluten development.
Transfer the dough to the pie pan by rolling it loosely around the rolling pin, then unrolling it over the pan. Do not stretch the dough to fit — stretching pulls gluten tight, and the crust will shrink back during baking. Gently lift the edges and let the dough settle into the corners of the pan. Trim the overhang to about 1 inch, then fold under and crimp.
Chill the lined pie pan for another 15-20 minutes before baking. Cold dough into a hot oven = maximum flakiness.
The Vodka Trick (and Why It Works)
This technique, from Cook's Illustrated / America's Test Kitchen, replaces up to half the water in a pie crust recipe with ice-cold vodka. Here's why it works:
Gluten — the elastic protein network that makes bread chewy and pie crust tough — only forms in the presence of water. Ethanol does not activate gluten. Vodka is ~40% ethanol and ~60% water. By replacing half the water in the recipe with vodka, you effectively cut the gluten-activating liquid by about 20%, while keeping the total liquid volume high enough to make the dough easy to roll.
During baking, the ethanol evaporates completely at 173°F — well before water boils. No vodka taste remains. What you get is a dough that's noticeably easier to roll out without becoming tougher. For beginners who struggle with cracking, tearing dough, this is the single most helpful modification.
Vodka Pie Crust Ratio
| Total Liquid Needed | Ice Water | Ice-Cold Vodka |
|---|---|---|
| 4 tbsp | 2 tbsp | 2 tbsp |
| 6 tbsp | 3 tbsp | 3 tbsp |
| 8 tbsp | 4 tbsp | 4 tbsp |
Combine the vodka and water together, then add the mixture the same way you'd add plain water — drizzle in slowly on the lowest speed. Everything else stays the same.
Use plain, unflavored vodka — the cheapest bottle in the store. Flavored vodkas leave a residue that can taste artificial after baking. Keep the vodka in the freezer so it's ice-cold when you use it.
Blind Baking: The Soggy-Bottom Prevention System
Blind baking is pre-baking the crust before adding filling. It's required for: custard and cream pies (pumpkin, pecan, chocolate cream), fresh fruit pies with no top crust, and any pie where the filling is wetter than the crust can handle.
Skip blind baking and you get the soggy bottom — a layer of undercooked, gummy dough where filling moisture soaked in before the crust could set.
How to Blind Bake
- Chill the lined pie pan for at least 20 minutes. Cold dough, frozen solid at the edges, holds its shape during the initial heat blast.
- Dock the bottom — prick the bottom and sides of the crust all over with a fork. This lets steam escape instead of bubbling up the bottom.
- Line with parchment or foil, pressing it snugly into the corners. Leave overhang to lift the weights out later.
- Fill with pie weights — ceramic beads, dried beans, or granulated sugar (which toasts in the process and can be reused in recipes). Fill all the way to the top rim — weights that only fill halfway let the sides slump.
- Bake at 425°F for 15-17 minutes, until the edges look set and are just starting to color.
- Remove weights and parchment. Return the crust to the oven for 5-10 more minutes, until the bottom looks dry and the entire crust is pale golden.
- Cool completely before adding filling — a warm crust will start absorbing liquid from the filling immediately.
For extra insurance against sogginess, brush the still-warm blind-baked crust with a thin layer of beaten egg white. It creates a moisture barrier that seals the crust. Return to the oven for 2 minutes to set the egg white, then cool.
The 6 Most Common Pie Crust Mistakes
| Mistake | What Happens | How to Prevent It |
|---|---|---|
| 1. Warm ingredients | Butter softens and blends into flour instead of staying in discrete pieces. No steam pockets form. Crust is dense and greasy. | Chill cubed butter, bowl, paddle, flour, and water before starting. Work quickly. If the kitchen is warm, chill the bowl mid-process. |
| 2. Overmixing | Gluten develops, butter pieces disappear. Crust is tough and cracker-like, not flaky. | Stop the mixer the instant the dough clumps. Visible butter chunks are good. Shaggy texture is correct. Smooth dough balls are a warning sign. |
| 3. Skipping the rest/chill | Gluten is still tight, butter is soft. Crust shrinks dramatically during baking and comes out tough. | Minimum 30 minutes rest in the fridge before rolling. Another 15-20 minutes after the dough is in the pan. This is non-negotiable. |
| 4. Stretching dough into the pan | Stretching pulls gluten taut. During baking, the gluten contracts and the crust pulls away from the pan edges. | Roll the dough larger than the pan. Gently lift and settle it into the corners. Trim excess; never pull to make it fit. |
| 5. Using too much flour when rolling | Each dusting of flour adds dry, unhydrated flour to the dough surface. It changes the fat-to-flour ratio and makes the crust dry and tough. | Use the minimum amount of flour needed. Roll between two sheets of parchment or plastic wrap if sticking is a recurring problem — zero extra flour required. |
| 6. Oven temperature too low | Butter melts slowly and seeps out before steam can form. Crust is greasy and flat, with a soggy bottom. | Start at 425°F for the first 15-20 minutes. The initial high heat creates a rapid steam burst that sets the flaky structure. Reduce to 350-375°F to finish baking through. |
Troubleshooting: Quick Fixes
| Problem | Likely Cause | Fix for Next Time |
|---|---|---|
| Crust is tough, not flaky | Overmixed; gluten over-developed; or butter too warm during mixing | Stop sooner. Use the vodka trick. Chill the bowl. |
| Crust is crumbly, falls apart | Not enough water; dough too dry to bind | Add water 1 tsp at a time next time. Use the squeeze test. |
| Crust shrinks in the pan | Dough not rested; stretched during fitting; gluten still tight | Rest dough minimum 30 min before rolling and 15 min after fitting in pan. Never stretch. |
| Soggy bottom | Skipped blind baking; wet filling; oven rack too high | Blind bake for wet fillings. Bake on lowest rack. Use a metal pan. |
| Burnt edges, pale bottom | Oven rack too low; no edge protection | Use a pie shield or foil ring after the first 20 minutes. Bake on middle rack. Metal pan for better bottom heat conduction. |
| Dough cracks during rolling | Too cold; or not enough water | Let dough warm 2-3 minutes at room temp. If still cracking, sprinkle 1 tsp water and gently work in. |
| Butter leaks out during baking | Butter pieces too large; or dough not chilled before oven | Aim for pea-sized pieces (not walnut-sized). Always chill the filled pan before baking. |
Make-Ahead, Refrigeration, and Freezing
| Format | Storage Method | Max Time | How to Use |
|---|---|---|---|
| Dough disc (fridge) | Double-wrapped in plastic | 3 days | Let sit at room temp 5-10 min, then roll |
| Dough disc (freezer) | Plastic wrap + foil, or freezer bag | 3 months | Thaw overnight in fridge, then roll |
| Rolled, in pan (fridge) | Wrapped in plastic, unbaked | 2 days | Blind bake or fill directly from fridge |
| Rolled, in pan (freezer) | Wrapped tightly in plastic + foil | 2 months | Bake directly from frozen; add 3-5 minutes |
| Fully baked shell | Room temperature, covered | 2 days | Fill and serve (no re-baking needed for no-bake fillings) |
Never thaw frozen dough at room temperature. The outside warms up while the center stays frozen, and the butter in the outer layer melts, creating a greasy, sticky mess. Always thaw overnight in the fridge.
FAQ
Can you make pie crust in a stand mixer?
Yes, and it produces a flakier crust than a food processor. The paddle attachment cuts butter into larger, flatter pieces than a food processor blade, which creates more distinct flaky layers. Use the flat beater on low speed and stop as soon as the dough holds together when squeezed.
What attachment do you use for pie crust in a stand mixer?
The flat beater (paddle attachment). KitchenAid also makes a dedicated pastry beater (KSMPB5 for tilt-head, KSMPB7 for bowl-lift) with a flexible edge specifically designed for cutting butter into flour. Never use the dough hook — it develops gluten and makes the crust tough.
Is a food processor or stand mixer better for pie crust?
The stand mixer is better for flakiness because it leaves larger, flatter butter pieces. The food processor is faster but produces smaller, more uniform butter pellets and has a narrower window between "not ready" and "overmixed." For beginners, the stand mixer is more forgiving.
Why did my stand mixer pie crust turn out tough?
You overmixed it, or the butter was too warm. Tough crust means gluten developed — either from mixing too long, using warm butter that smeared into the flour, or adding too much water. Next time: chill everything first, stop mixing the moment the dough clumps, and use the vodka trick for extra gluten protection.
Should I use butter or shortening for pie crust?
All-butter gives the best flavor and flakiness. A 3:1 butter-to-shortening blend is more forgiving for beginners — shortening raises the dough's melting point and makes it easier to handle without sacrificing much flavor. For savory pies, high-quality leaf lard is an excellent option.
Why do you put vodka in pie crust?
Vodka replaces up to half the water in the recipe. Ethanol doesn't activate gluten, so you can add enough total liquid to make the dough easy to roll without developing toughness. The alcohol evaporates completely during baking, leaving no taste — just a more tender, easier-to-handle crust.
How long should pie dough rest before rolling?
Minimum 30 minutes in the fridge. One hour is better. Overnight is ideal. Resting relaxes gluten (preventing shrinkage), re-solidifies butter (ensuring flakiness), and allows flour to fully hydrate (improving texture). After fitting the dough into the pan, chill another 15-20 minutes before baking.
Can you freeze pie crust dough?
Yes, for up to 3 months. Double-wrap discs in plastic wrap and foil, or use a freezer bag. Thaw overnight in the fridge — never at room temperature. Dough already rolled into a pan also freezes well for up to 2 months; bake directly from frozen, adding 3-5 minutes.
What to Do Next
If you're making your first stand mixer pie crust, use all-butter (or the 3:1 butter-shortening blend), chill everything aggressively, and pull the dough off the mixer the moment it clumps. Those three habits account for 90% of the difference between tough and flaky.
For more stand mixer recipes and techniques:
- Stand Mixer Mashed Potatoes: The Complete Guide — another hands-free side dish where the stand mixer beats hand methods
- 5 Essential Stand Mixer Recipes: Cookies, Bread, Pizza Dough, Cake & Whipped Cream
- How to Make Bread Dough in a Stand Mixer — the complete guide to kneading dough with confidence
- Stand Mixer Attachments Guide — every attachment explained, including the paddle and pastry beater
- Shop Hauswirt Stand Mixers — DC motor mixers with full low-speed torque for consistent dough work
