
Key Takeaways
- A stand mixer meat grinder attachment saves $50-$150+ over a standalone grinder and takes up zero extra counter space — if you already own a mixer. For 2-5 lb batches a few times a month, it's the clear value choice. If you process deer or grind 10+ lbs weekly, buy a dedicated grinder.
- The metal version (KitchenAid KSMMGA) is worth the extra $30-$40 over the plastic version. The plastic housing (KSMFGA) has widespread reports of cracking within months. The metal body also chills faster in the freezer — and cold metal is critical for clean grinds.
- 90% of clogging problems are user error, not equipment failure. Warm meat, untrimmed silverskin, installing the blade backwards, or skipping the coarse plate first pass — fix these four things and the grinder works. The remaining 10% is dull blades or defective parts.
- Partially freezing the meat (20-30 minutes) and chilling the grinder assembly in the freezer are non-negotiable. Cold meat cuts cleanly. Warm meat smears fat into paste and clogs the plate within the first pound. Every experienced user says the same thing: chill everything.
- You can grind much more than meat with this attachment. Hard cheeses (Parmesan, cheddar), bread for breadcrumbs, cooked chickpeas for falafel, firm vegetables for slaw or relish — the grinder attachment has more range than most owners realize.
Store-bought ground beef is a black box. You don't know which cuts went in, how many animals are in the package, or how long ago it was ground. A single package of supermarket ground beef can contain meat from dozens of cows — which is why the USDA recommends cooking it to 160°F, while a steak is safe at 145°F.
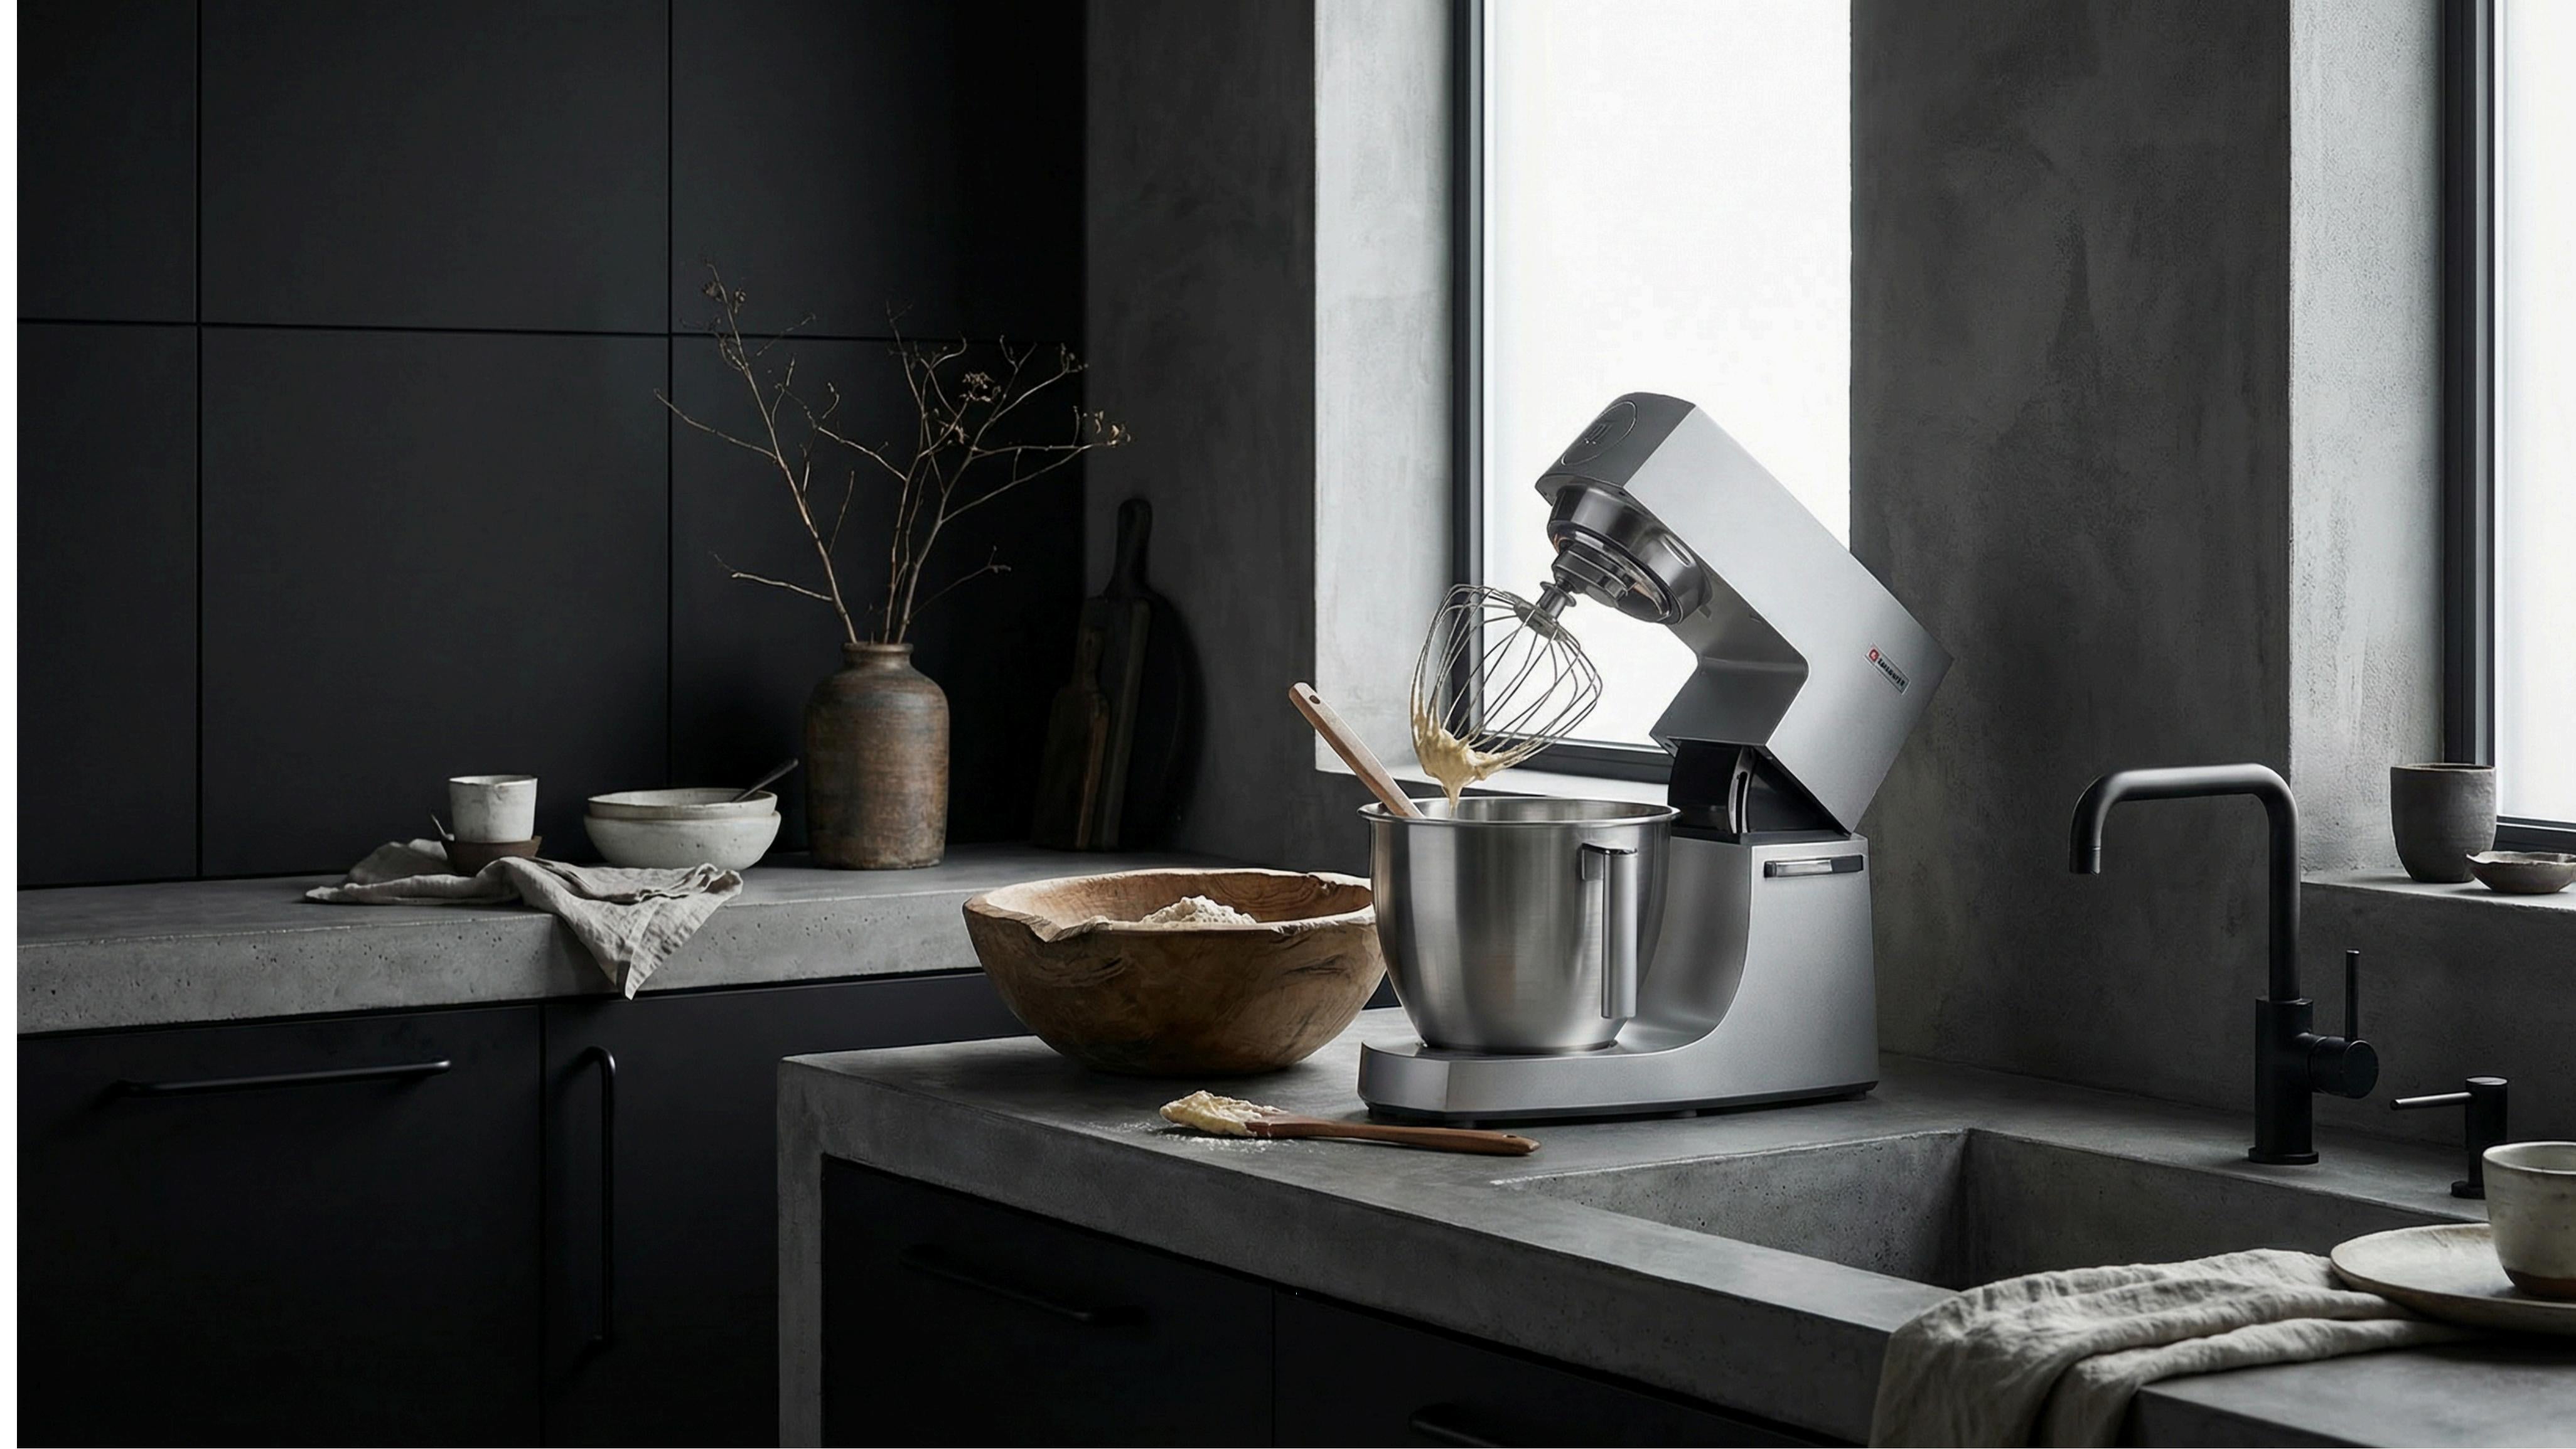
The fix is grinding your own. You control the cut, the fat ratio, the freshness, and the texture. And if you already own a stand mixer, you don't need a $150+ standalone grinder to do it. A $45-$80 attachment using your mixer's motor is enough for most home kitchens.
This guide covers everything: which attachment to buy, how to grind without clogging, the exact temperature and technique, what else you can grind besides meat, how to make sausage, and how to clean and maintain the grinder so it lasts.
Attachment vs. Standalone Grinder: Which One Do You Actually Need?
The attachment isn't right for everyone. Here's how to decide.
| Factor | Stand Mixer Attachment | Standalone Electric Grinder |
|---|---|---|
| Price | $45-$80 (metal); $30-$45 (plastic) | $60-$200+ |
| Batch size sweet spot | 2-5 lbs per session | 10+ lbs per session |
| Speed | ~2-3 lbs per minute | ~4-8 lbs per minute |
| Torque (tough cuts) | Limited by mixer motor; struggles with heavy sinew | Dedicated high-torque motor handles connective tissue |
| Heat buildup | Moderate — chilling between batches recommended | Low — built for continuous runs |
| Storage | Fits in a kitchen drawer | Requires cabinet or counter space |
| Durability | Good for occasional use; plastic models less durable | Built for heavy, repeated use |
| Sausage stuffing | Included tubes work for small batches | Works but most serious sausage makers buy a dedicated stuffer |
| Other uses | Cheese, breadcrumbs, vegetables, falafel | Meat-focused; some models handle cheese |
Get the attachment if you already own a stand mixer and grind meat a few times a month or less — for burgers, meatballs, sausage, or meatloaf. You'll pay for it in 2-3 batches of grinding your own chuck versus buying premium ground beef.
Get a standalone grinder if you hunt and process game, grind more than 10 lbs at a time, make sausage weekly, or need to grind through heavy sinew and connective tissue regularly.
Plastic vs. Metal: The One Decision That Matters
| Plastic (KitchenAid KSMFGA / FGA) | Metal (KitchenAid KSMMGA) | |
|---|---|---|
| Price | ~$45-$55 | ~$77-$100 |
| Housing material | White plastic | Cast aluminum |
| Durability | Cracking reported within 6-12 months of regular use | No systemic durability complaints |
| Freezer-safe | Plastic insulates — slower to chill | Metal conducts cold — chills quickly in freezer |
| Dishwasher | Technically yes (top rack) but accelerates cracking | Hand wash only (dishwasher detergent corrodes aluminum) |
| Grinding plates | 2 plates (fine + coarse) | 3 plates (fine + medium + coarse) |
| Sausage tubes | 2 sizes | 2 sizes |
Buy the metal version. The $30-$40 difference is less than the cost of replacing a cracked plastic housing once. Every Reddit thread, review site, and long-term user comparison reaches the same conclusion: the plastic version works for occasional light use but has a known cracking problem at the hub connection. The metal version solves it.
If you're buying third-party (non-KitchenAid), look specifically for stainless steel construction. Many "metal" third-party attachments are low-grade aluminum that can leave grey residue on meat and discolor in the dishwasher. FavorKit and KITOART make fully stainless steel options that outperform the official KitchenAid on material quality at a similar price point.
What's in the Box: Parts and What They Do
Every meat grinder attachment has the same basic anatomy:
- Food tray — The top tray where you load meat cubes. Larger trays mean less refilling.
- Feed tube / hopper — The vertical neck where the food pusher goes. Narrow tubes require smaller meat cubes.
- Worm gear (auger) — The spiral shaft that drives meat forward. This is what connects to the mixer's power hub and does the actual transporting.
- Blade (knife) — A 4-pronged cutting blade that spins against the grinding plate. The sharp, flat side faces OUT toward the plate — installing it backwards is the single most common user error.
- Grinding plates (dies) — Interchangeable metal discs with holes. Fine plate (⅛" holes) for second-pass grinding, medium (3/16"), coarse (¼") for first pass and chili meat.
- Retaining ring — Screws onto the front to hold the plate and blade in place. Snug, not cranked tight — overtightening bends the plate and dulls the blade.
- Sausage stuffer tubes — Replace the grinding plate and blade for stuffing. Two sizes for different sausage casings.
- Food pusher — The plastic (or wood, in some kits) stick for pushing meat down the feed tube. Use this, not your fingers.
Compatibility: Does It Fit Your Mixer?
All genuine KitchenAid hub attachments fit every KitchenAid stand mixer ever made — tilt-head and bowl-lift, from the 1930s to today. The power hub is a universal standard.
For other mixer brands:
| Brand | Compatibility |
|---|---|
| KitchenAid (all models) | Yes — genuine + third-party KitchenAid-compatible attachments |
| Hauswirt M5max | Check hub compatibility — the M5max has a front power hub but uses a different attachment interface. Verify before buying. |
| Cuisinart SM-50 | Some third-party attachments specifically list Cuisinart compatibility. KitchenAid-branded attachments do not fit. |
| Kenwood | Uses its own attachment system. KitchenAid attachments do not fit. |
| Bosch Universal Plus | Compatible with Bosch's own meat grinder attachment (sold separately). KitchenAid attachments do not fit. |
| Ankarsrum | Compatible with Ankarsrum's own meat grinder attachment. KitchenAid attachments do not fit. |
If you don't own a KitchenAid, check the attachment listing carefully. "Universal" often means "universal for KitchenAid hub" — not universal for all mixers.
Speed Settings for Grinding Meat
Use medium speed — not maximum. The goal is steady torque, not raw RPMs. Too fast smears fat. Too slow bogs down.
| Mixer Brand | Grinding Speed |
|---|---|
| KitchenAid Tilt-Head | Speed 4-6 |
| KitchenAid Bowl-Lift | Speed 4-6 |
| Hauswirt M5max | Speed 3-4 |
| Bosch Universal Plus | Speed 2-3 |
Step-by-Step: How to Grind Meat in a Stand Mixer
Step 1: Chill Everything — 2 Hours Ahead
Place the entire grinder assembly (housing, worm gear, blade, plates, retaining ring) in the freezer for at least 1-2 hours before you start. Cold metal is the single biggest factor in clean grinds. Warm metal smears fat on contact.
Cut your meat into 1-inch cubes, spread them on a sheet pan in a single layer, and freeze for 20-30 minutes. You want the meat firm and starting to develop ice crystals on the surface — but not frozen solid. Partially frozen meat cuts cleanly. Room-temperature meat mushes through the plate.
Step 2: Trim Aggressively
Remove all silverskin, tendons, and large pieces of connective tissue. A sharp boning knife and 2 minutes of trimming per pound saves 10 minutes of unclogging the grinder later. Silverskin wraps around the blade like thread around a vacuum roller — once it starts, the grind quality drops and the clog builds fast.
Fat is fine — leave it. You need fat for flavor and texture. Connective tissue and silverskin are the problem.
Step 3: Assemble Correctly — Blade Orientation Matters
- Insert the worm gear into the housing (the square end goes toward the mixer hub).
- Place the blade onto the worm gear's front pin. The flat, sharp side of the blade faces OUT — against the grinding plate. If you install it backwards (sharp side facing in toward the auger), meat backs up into the housing instead of exiting the plate.
- Place the grinding plate over the blade. Start with the coarse plate (largest holes).
- Screw on the retaining ring. Hand-tighten until snug, then back off ⅛ turn. Overtightening bends the plate, causes metal-on-metal grinding between the blade and plate, and dulls the blade prematurely.
- Attach the food tray to the top of the feed tube.
- Mount the assembled grinder onto the mixer's power hub. It locks into place with a twist or set screw depending on your mixer model.
Step 4: Grind — Steady Pace, Don't Force It
Turn the mixer to the grinding speed (4-6 on KitchenAid). Feed meat cubes into the hopper a few at a time — let the auger pull the meat through. Do not ram it with the pusher. The pusher is for gently guiding meat into the auger's grip, not for forcing it down. Forcing strains the mixer motor and compresses the meat, ruining the texture.
Place a chilled bowl under the grinder's output. The meat should exit in clean, distinct strands. If it looks pasty or smeared, something is warm — stop, re-chill the assembly, and try again.
Step 5: Second Pass (Optional)
For burgers, meatballs, or any application where you want a finer texture, run the meat through a second time with the medium plate. Some cooks prefer a single coarse pass for chili and a double grind for burgers. Try both and decide which texture you prefer.
If doing a double grind, chill the meat again between passes — 10 minutes in the fridge is enough. Warm meat from the first pass will smear on the second.
Step 6: Clean Immediately
Disassemble the grinder as soon as you're done. Dried meat residue is hard to remove and dulls the blade. Run a slice of bread through the grinder before disassembly — it pushes out residual meat from the feed tube and makes cleaning easier.
Wash all parts in warm, soapy water by hand. Use the included cleaning brush to clear the grinding plate holes. Rinse thoroughly. Dry completely before storing — moisture trapped in the housing causes corrosion on metal parts.
Do not put metal grinder parts in the dishwasher. Dishwasher detergent is highly alkaline and corrodes aluminum. Even "dishwasher safe" plastic models last longer when hand washed.
Choosing Meat Cuts and Fat Ratios
| Application | Recommended Cut(s) | Target Fat % |
|---|---|---|
| Burgers | Chuck (80/20 naturally), or chuck + short rib blend | 20-25% |
| Meatballs / meatloaf | Equal parts beef chuck + pork shoulder | 20-25% |
| Tacos / chili | Chuck or brisket flat, coarse grind | 15-20% |
| Sausage (pork) | Pork shoulder (Boston butt) — naturally ~70/30 lean-to-fat | 25-30% |
| Lean ground beef | Sirloin or round, add 2-3 oz beef fat per pound if too lean | 10-15% |
Chuck is the workhorse cut for grinding. It naturally sits at about 80/20 lean-to-fat — ideal for burgers — and has enough fat to stay juicy without being greasy. Brisket makes excellent ground beef with a deeper beef flavor. Short rib adds richness when blended with leaner cuts.
Avoid pre-packaged "stew meat" — it's often scraps from multiple cuts with inconsistent fat content. Buy a whole chuck roast and cut it yourself.
The 5 Most Common Mistakes
| Mistake | What Happens | How to Prevent It |
|---|---|---|
| 1. Warm meat or warm grinder | Fat smears instead of being cut into distinct particles. The ground meat has a pasty, emulsified texture — like a hot dog — instead of separate, tender strands. | Freeze grinder parts 1-2 hours. Freeze cubed meat 20-30 minutes until firm with surface ice crystals. Work quickly. |
| 2. Leaving silverskin on the meat | Silverskin and connective tissue don't cut cleanly — they wrap around the blade and worm gear, causing clogs. Grind output slows to a stop. Blade gets gummed up. | Trim aggressively. Use a sharp boning knife. 2 minutes of trimming per pound of meat. If it looks shiny and silvery, cut it off. |
| 3. Installing the blade backwards | Meat never exits the plate. It backs up into the housing, packs tight, and the grinder jams. This is the #1 "defective unit" that isn't actually defective. | Flat, sharp side of the blade faces OUT — against the grinding plate. The beveled/dull side faces IN — toward the auger. Look at the blade before you assemble. |
| 4. Ramming meat with the pusher | Compacts meat into a dense plug instead of letting the auger pull it through naturally. Strains the mixer motor. Can bend the worm gear or snap the plastic housing. | Drop cubes in gently. Let the auger grab them. Use the pusher only for gentle guidance — never force. If meat doesn't self-feed, it's either too warm or the blade is on backwards. |
| 5. Skipping the bread cleanup pass | Residual meat dries inside the feed tube and plate holes, making the next use harder to clean and potentially contaminating fresh meat with old residue. | After grinding, run a slice of plain bread through. It pushes out remaining meat and absorbs residual fat. Then disassemble and wash immediately. |
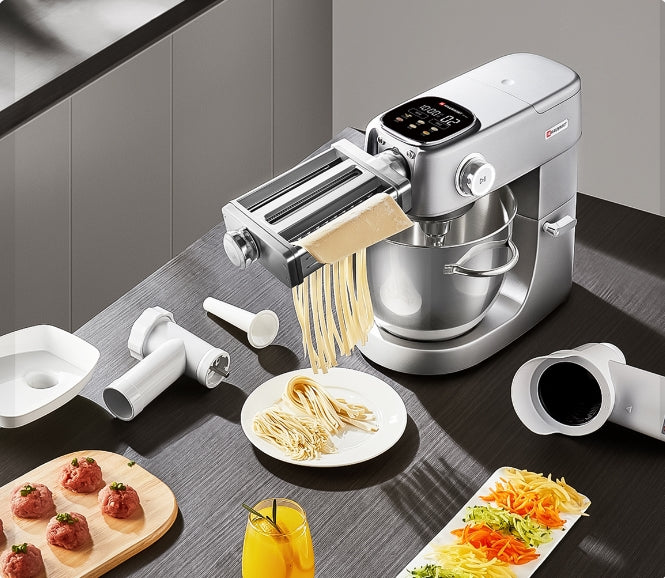
Beyond Meat: Everything Else You Can Grind
The meat grinder attachment is named for one job but does many. Here's what else goes through it:
| Ingredient | How to Use |
|---|---|
| Hard cheese (Parmesan, Pecorino, aged cheddar) | Cut into 1-inch chunks. Use the coarse plate. Freshly grated cheese melts better and has more flavor than pre-shredded (which is coated in cellulose). Clean immediately — cheese oils set hard. |
| Bread for breadcrumbs | Use stale or lightly toasted bread. The coarse plate makes panko-style crumbs; fine plate makes sand-like crumbs for meatballs. Run a slice of fresh bread through after to clean out the dry crumbs. |
| Cooked chickpeas (for falafel) | Soak dried chickpeas overnight but do NOT cook them — traditional falafel uses soaked raw chickpeas. Feed through the coarse plate with herbs and onion. The result is the right texture for frying. |
| Firm vegetables (carrots, beets, potatoes) | For slaws, latkes, hash browns, and relishes. Use the coarse plate. Raw beets and carrots work well. Clean immediately — vegetable pigments stain plastic parts. |
| Nuts | Almonds, walnuts, pecans. Coarse plate for nut meals for baking. Don't over-process or you'll get nut butter clogging the plate. Chill nuts first — warm nuts release oil during grinding. |
| Dried fruit (dates, apricots, raisins) | For energy bars and baking. Chill dried fruit first for cleaner cuts. The coarse plate works best. Expect some sticking — a light spray of cooking oil on the plate helps. |
Sausage Making: The Quick-Start Version
The included sausage stuffer tubes let you make fresh sausage with the same attachment. Here's what you need to know to get started:
- Remove the blade and grinding plate. Replace with the plastic stuffing spacer (if your kit includes one) and attach the stuffer tube. Some kits use a different retaining ring for stuffing.
- Soak natural casings in cold water for 30+ minutes, then flush water through them to check for holes. Or use collagen casings (no soaking needed).
- Mix your ground meat with seasonings and a small amount of cold liquid (water, beer, or wine — about 1 oz per pound). Mix until the meat becomes sticky and binds to itself — this is called "primary bind" and it's essential for sausage texture.
- Feed the seasoned meat through the grinder on low speed. Guide the casing off the stuffer tube as it fills. Don't overstuff — leave slack for twisting links.
- Prick air bubbles with a sterilized needle or sausage pricker. Air pockets expand during cooking and split the casing.
- Twist links in alternating directions (first link toward you, second link away, repeat) so they don't untwist.
For beginners, start with bulk sausage (no casing — just form patties) or a simple fresh Italian sausage in hog casings. Breakfast sausage patties are the easiest entry point: ground pork shoulder + salt + sage + black pepper + a pinch of red pepper flake. No casing, no stuffing, just mix and form.
Cleaning and Maintenance
| Do | Don't |
|---|---|
| Hand wash all metal parts in warm, soapy water | Put metal grinder parts in the dishwasher — detergent corrodes aluminum |
| Use the included brush to clear plate holes | Use steel wool or abrasive scrubbers on grinding plates — scratches trap meat residue |
| Dry all parts completely before storing | Store metal parts damp — corrosion starts within hours |
| Lightly coat the grinding plates with food-grade mineral oil between uses | Leave the blade resting against the plate when stored — separate them to prevent dulling |
| Run bread through before disassembly each time | Let meat residue dry overnight — it's much harder to clean the next day |
| Replace the blade when grinds become inconsistent or require more force | Sharpen the blade yourself — grinding blades are designed to be replaced, not sharpened |
Troubleshooting
| Problem | Likely Cause | Fix |
|---|---|---|
| Meat won't come out / clogs immediately | Blade installed backwards; or too much silverskin wrapped around blade | Check blade orientation (sharp side toward plate). Disassemble and clear any wrapped tissue. Re-trim meat. |
| Meat is pasty or smeared | Meat and/or grinder too warm | Re-chill everything. Partially freeze meat. Freeze grinder parts 1-2 hours. |
| Grinder housing wobbles | Not fully locked onto mixer hub; or plastic housing cracking | Remove and re-seat with firm twist. Inspect housing for cracks — if found, replace (ideally with metal version). |
| Grind is inconsistent — some fine, some chunky | Dull blade; or feeding too fast with the pusher | Replace blade. Let auger pull meat naturally. Don't force-feed. |
| Dark grey residue on meat | Aluminum oxidation from cheap plates or housing | Switch to stainless steel parts. In the short term: clean thoroughly, coat with mineral oil before use. |
| Mixer motor gets hot / shuts off | Overloading; grinding too large a batch without rest | Limit to 5 lbs per session. Let mixer cool between batches. If the mixer has thermal protection, wait for it to reset. |
| Sausage casing keeps breaking | Overstuffing; or air bubbles not pricked; or old/brittle casings | Leave more slack. Prick visible air bubbles. Soak natural casings fully. Check expiration on collagen casings. |
| Auger / worm gear snapped | Ramming with pusher; or overtightened retaining ring; or manufacturing defect | Replace the auger. In future: never force-feed, tighten ring to "snug minus ⅛ turn." |
FAQ
Can you grind meat in a stand mixer?
Yes, using a meat grinder attachment that connects to the mixer's front power hub. It turns your stand mixer into an electric meat grinder — slower than a dedicated standalone grinder, but perfectly capable for home use (2-5 lb batches). The attachment costs $45-$100 depending on brand and material.
Is the KitchenAid meat grinder attachment worth it?
For most home cooks who already own a KitchenAid mixer, yes. The metal version (KSMMGA, ~$77-$100) grinds up to 5 lbs per session and costs far less than a standalone grinder. It pays for itself in 2-3 batches of grinding your own chuck versus buying premium ground beef. If you grind 10+ lbs weekly, buy a dedicated grinder instead.
Plastic or metal KitchenAid meat grinder — which should I buy?
Buy the metal version (KSMMGA). It costs $30-$40 more but solves the plastic housing cracking problem that's widely reported with the KSMFGA. The metal body also chills faster in the freezer — and cold metal is critical for clean, non-smeary grinds.
What speed should I use for the meat grinder attachment?
Medium speed — Speed 4-6 on KitchenAid, Speed 3-4 on Hauswirt. Not maximum. The goal is steady torque at moderate RPMs. Too fast smears fat and heats the meat. Too slow lacks the power to push through efficiently.
Why is my meat grinder attachment clogging?
Four most common causes, in order: (1) blade installed backwards — sharp side must face the plate; (2) meat too warm — freeze for 20-30 min before grinding; (3) silverskin not trimmed — it wraps around the blade; (4) trying to go straight to the fine plate without a coarse pass first. Fix these four before assuming a defective unit.
What cuts of meat should I use for grinding?
Chuck roast is the standard — it naturally has an 80/20 lean-to-fat ratio, ideal for burgers. For a richer burger, blend chuck with short rib or brisket. For pork applications (sausage, meatballs), use Boston butt (pork shoulder), which naturally has 25-30% fat. Avoid pre-cut "stew meat" — it's inconsistent.
Can the meat grinder attachment make sausage?
Yes. Every meat grinder kit includes sausage stuffer tubes. Remove the blade and grinding plate, attach the stuffer tube, and feed seasoned ground meat through on low speed. It's slower than a dedicated sausage stuffer but works for small batches (2-5 lbs). Bulk sausage (patties, no casing) is the easiest starting point.
How do you clean a stand mixer meat grinder?
Disassemble immediately after use. Run a slice of bread through first to push out residual meat. Hand wash all parts in warm soapy water. Use the included brush to clear plate holes. Dry completely before storing. Never put metal parts in the dishwasher — detergent corrodes aluminum. Lightly oil plates between uses with food-grade mineral oil.
What to Do Next
If you're buying your first meat grinder attachment, get the metal version, freeze the assembly for 2 hours before first use, and start with a 3 lb chuck roast for burgers. Those three decisions eliminate most beginner frustration.
For more stand mixer techniques and guides:
- Stand Mixer Attachments Guide — every attachment explained, from the flat beater to the pasta roller to the meat grinder
- 5 Essential Stand Mixer Recipes — cookies, bread, pizza dough, cake, and whipped cream
- Stand Mixer Mashed Potatoes: The Complete Guide — another attachment-driven technique
- Stand Mixer Pie Crust Guide — flaky, buttery pastry with the paddle attachment
- Shop Hauswirt Stand Mixers — DC motor mixers with the torque and durability for attachment work