
Key Takeaways
- These five recipes cover every core stand mixer function: creaming (cookies), kneading (bread and pizza dough), whipping (cream), and batter mixing (cake). Master these five and you can make 50+ variations without learning new techniques.
- The chocolate chip cookie recipe uses the creaming method — the single most important stand mixer skill. Properly creamed butter and sugar (3-4 minutes at speed 5-6) is what makes cookies chewy in the center and crisp at the edges.
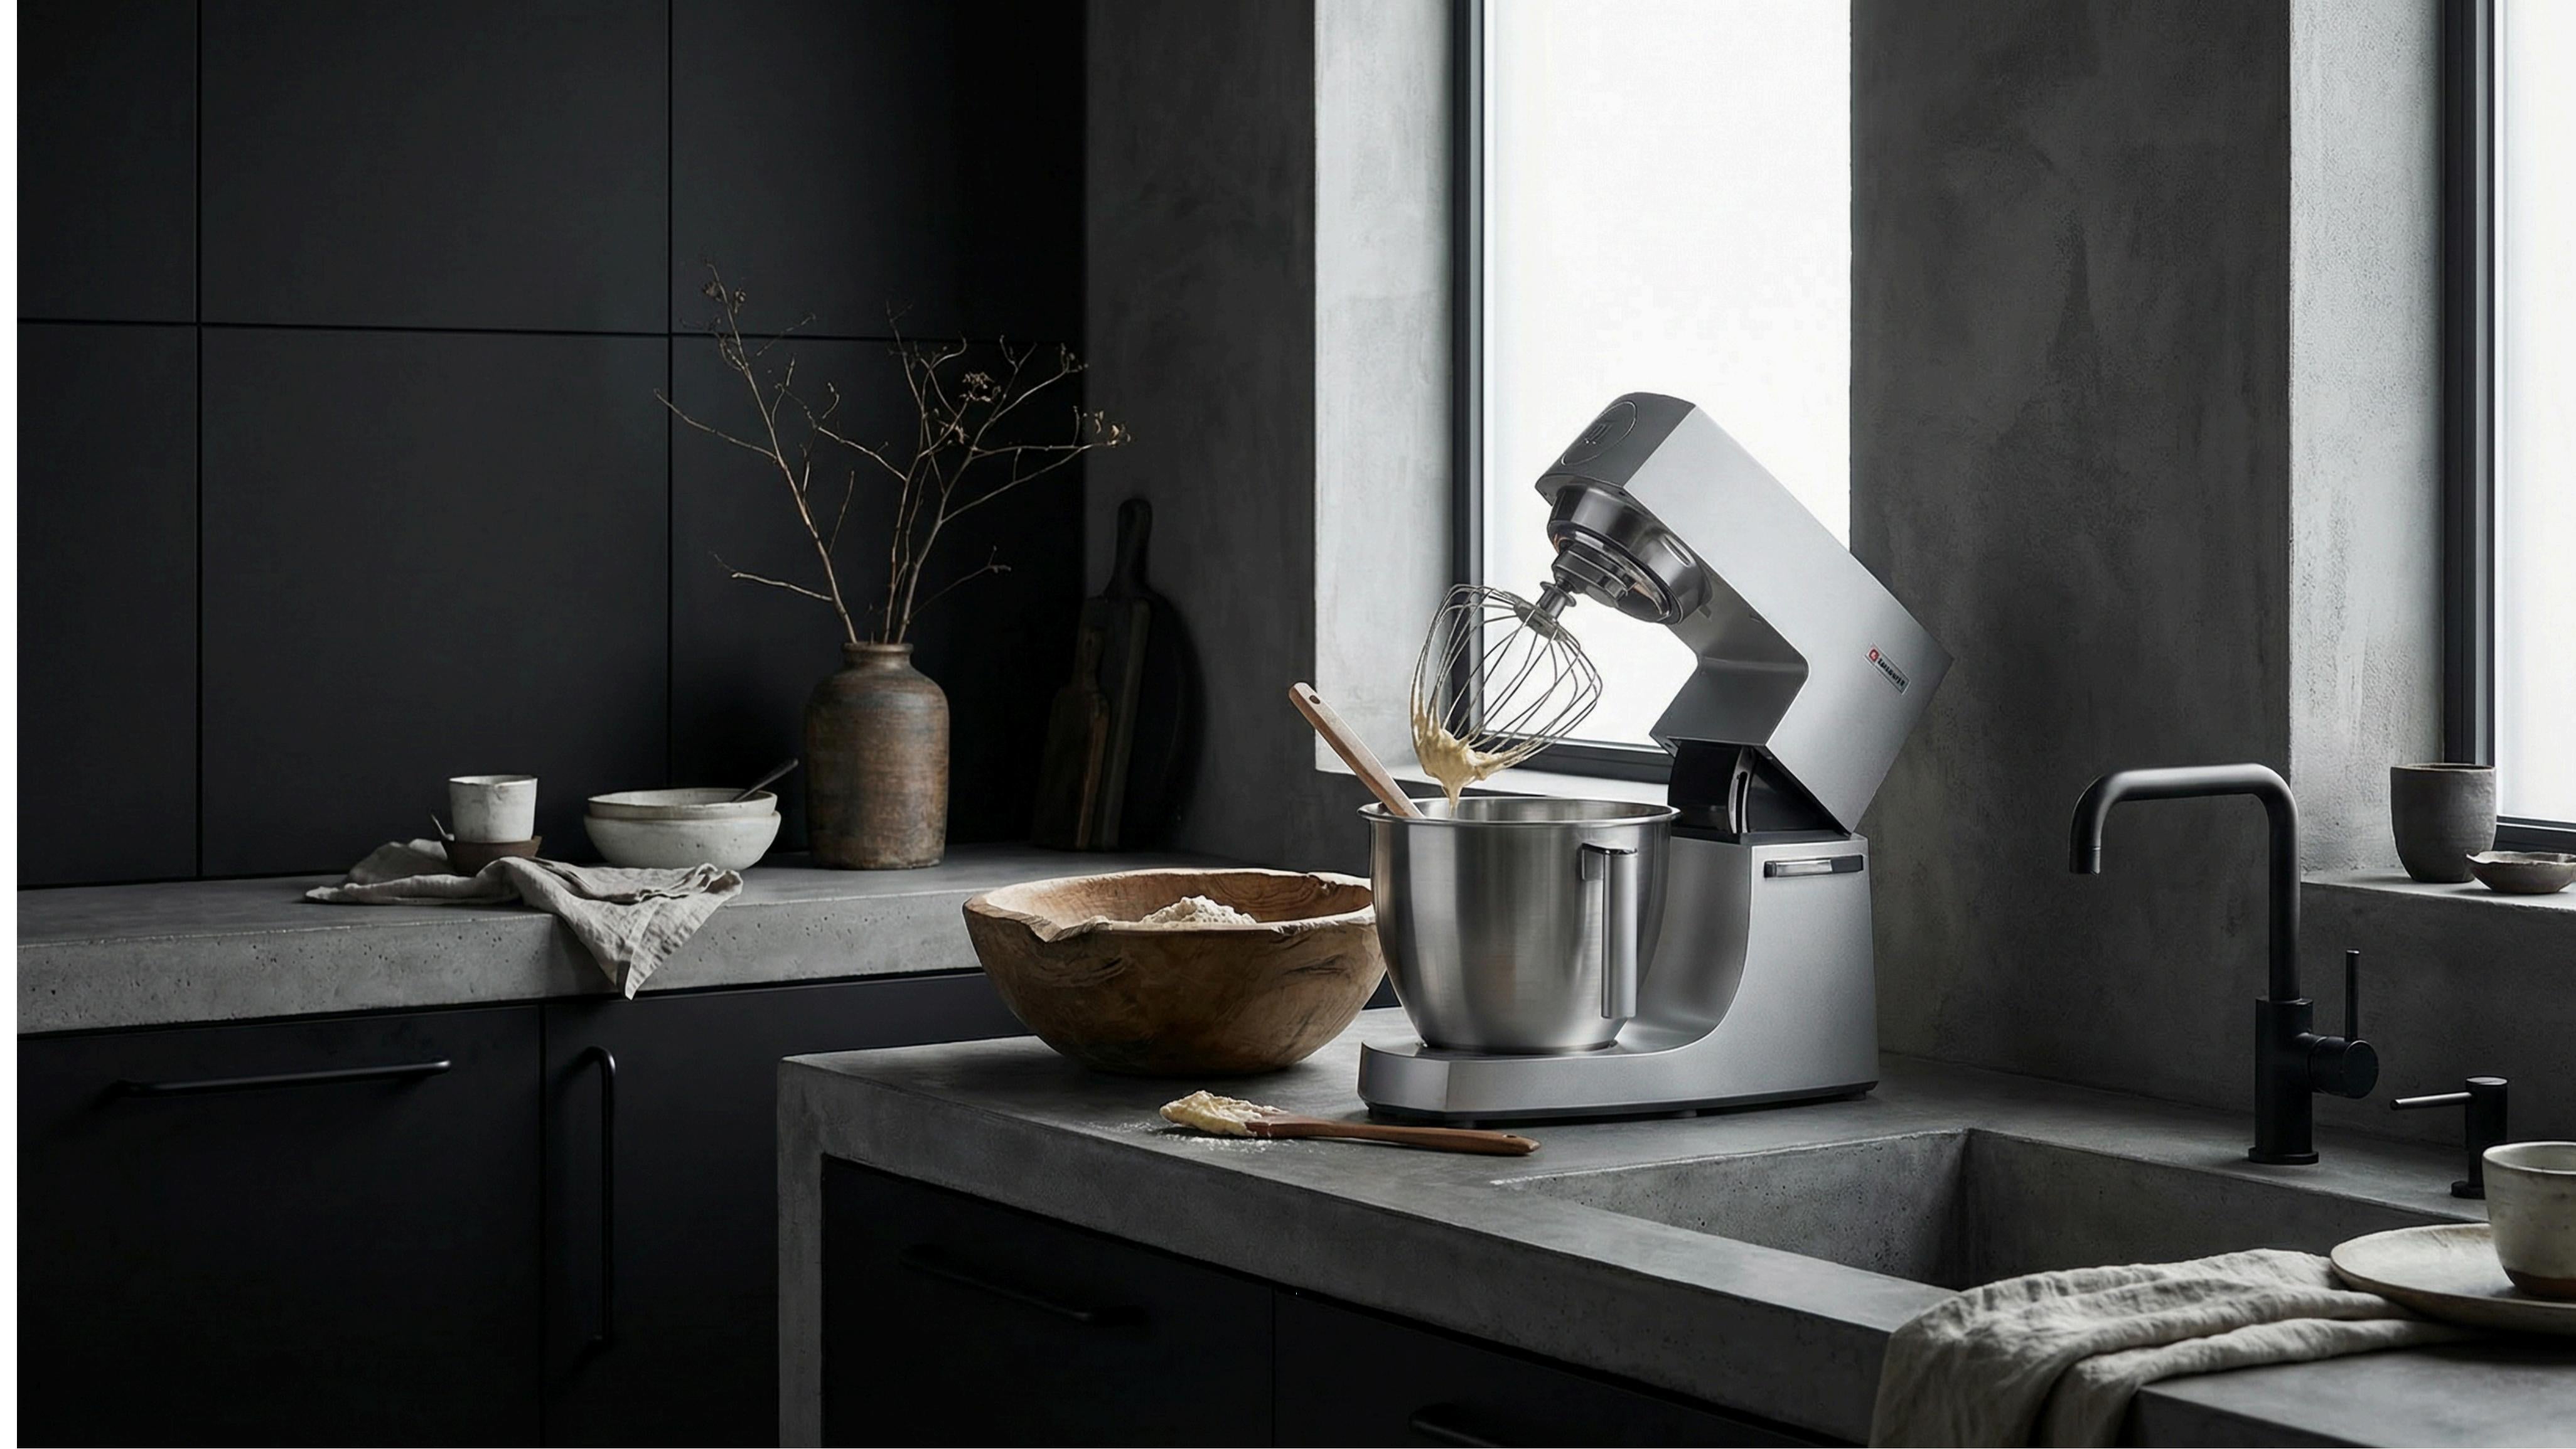
- The white bread recipe is designed for first-time bread bakers. Total hands-on time is under 15 minutes — the mixer does the kneading, and the DC motor on the Hauswirt M5max maintains steady torque at speed 2 without the mixer walking across the counter.
- Pizza dough is the highest-value recipe in this list. A batch costs about $2 in ingredients and produces four 12-inch pizzas that would cost $12-16 each from a decent pizzeria. The mixer pays for itself in about 25 pizza nights.
- Every recipe includes the specific speed setting and attachment to use. Speed control is the difference between a good result and a great one — using speed 8 for bread dough or speed 2 for whipped cream will ruin both.
You've got the stand mixer. It's on the counter. It looks great. Now what do you actually make with it?
Most people buy a stand mixer, make cookies once, and then default back to hand mixing because they're not sure what else to try. That's backwards. A stand mixer isn't a specialty tool — it's the fastest way through almost every baking recipe you'll ever make, and learning five foundational recipes unlocks more than you'd think.
These five recipes were chosen for one reason: each one teaches a core stand mixer technique. Once you understand creaming, kneading, whipping, and batter mixing, you can adapt those skills to hundreds of variations. No exotic ingredients. No equipment beyond what came in the box. Just five things every home baker should know how to make.
1. Classic Chewy Chocolate Chip Cookies
Attachment: Flat beater | Speed: 4 for creaming, 2 for adding flour | Active time: 15 min | Total time: 1 hr 45 min (includes chilling)
This is the recipe that teaches the creaming method — beating butter and sugar together until light and fluffy. It's the single most important stand mixer skill because it's used in cookies, cakes, brownies, and muffins. Get this right and half of baking is solved.
Ingredients
- 2 1/4 cups (280g) all-purpose flour
- 1 teaspoon baking soda
- 1 teaspoon salt
- 1 cup (226g) unsalted butter, softened to room temperature (not melted — leave it out for 1 hour)
- 3/4 cup (150g) granulated sugar
- 3/4 cup (160g) packed brown sugar
- 2 large eggs, at room temperature
- 2 teaspoons vanilla extract
- 2 cups (340g) semi-sweet chocolate chips
Method
- In a separate bowl, whisk together flour, baking soda, and salt. Set aside.
- Attach the flat beater to the mixer. Add softened butter, granulated sugar, and brown sugar to the bowl. Start at speed 1 to combine (30 seconds), then increase to speed 4-5. Cream for 3-4 minutes until the mixture is noticeably lighter in color and fluffy in texture. Scrape the bowl once halfway through.
- With the mixer running at speed 2, add eggs one at a time, then vanilla. Mix until just combined — about 30 seconds.
- At speed 1-2, gradually add the flour mixture. Mix only until the flour disappears — about 30-45 seconds. Over-mixing at this stage makes tough cookies.
- Remove the bowl, fold in chocolate chips by hand with a spatula. Cover and refrigerate the dough for at least 1 hour (up to 48 hours — longer chill = more flavor).
- Preheat oven to 375°F (190°C). Scoop 2-tablespoon balls onto a parchment-lined baking sheet, 2 inches apart. Bake 10-12 minutes until edges are golden brown and centers look slightly underdone. Cool on the baking sheet for 5 minutes before transferring to a wire rack.
Why the stand mixer matters here: Proper creaming takes 3-4 minutes of continuous beating at medium speed. Doing this with a hand mixer is tiring and inconsistent. The stand mixer holds steady speed while you prep the next ingredient, and the planetary mixing action (the beater rotates while the bowl spins) creams more evenly than a hand mixer ever can.
Variations: Replace chocolate chips with M&Ms, white chocolate + dried cranberries, or butterscotch chips + pecans. Same method, different add-ins.
2. Simple White Sandwich Bread
Attachment: Dough hook | Speed: 1-2 only | Active time: 20 min | Total time: 3-4 hours (includes rising)
This is the recipe that justifies the stand mixer purchase. Hand-kneading bread takes 12-15 minutes of physical work. The mixer does it in 6-8 while you clean up or prep the next step. This loaf is soft, sliceable sandwich bread — not crusty artisan bread. It's designed for everyday use.
Ingredients
- 3 1/2 cups (440g) bread flour (bread flour has more protein than all-purpose — it matters for bread)
- 1 1/4 cups (300ml) warm water (100-110°F — should feel like warm bath water)
- 2 tablespoons (28g) unsalted butter, softened
- 1 tablespoon (12g) granulated sugar
- 1 1/2 teaspoons salt
- 2 1/4 teaspoons (7g) instant yeast (one standard packet)
Method
- Add warm water, sugar, and yeast to the mixer bowl. Let sit for 5 minutes until foamy on top. If it doesn't foam, the yeast is dead — start over with fresh yeast.
- Add softened butter, salt, and 2 cups of the flour. Attach the dough hook. Mix at speed 1 until a shaggy dough forms, about 1 minute.
- With the mixer running at speed 1-2, add the remaining flour 1/4 cup at a time. Once all flour is in, knead at speed 2 for 6-7 minutes. The dough should clear the sides of the bowl but stick slightly to the bottom. It should feel smooth and elastic when you poke it — not sticky, not dry.
- Remove the dough hook, cover the bowl with a clean kitchen towel, and let rise in a warm spot for 1-1.5 hours until doubled in size.
- Punch down the dough, shape into a log, and place seam-side down in a greased 9×5-inch loaf pan. Cover and let rise again for 45-60 minutes until the dough crowns about 1 inch above the rim of the pan.
- Preheat oven to 375°F (190°C). Bake for 30-35 minutes until deeply golden on top. The loaf should sound hollow when tapped. Remove from pan immediately and cool completely on a wire rack before slicing.
Why the stand mixer matters here: Bread dough needs sustained, consistent kneading at low speed. A DC motor mixer like the Hauswirt M5max maintains full torque at speed 2 — the dough hook doesn't bog down, the mixer doesn't walk, and the dough temperature stays low. AC motor mixers often need speed 4 to achieve the same kneading effect, which generates more friction heat and can push dough temperature above the 80°F threshold where yeast activity becomes uncontrolled.
Variations: Replace 1 cup of bread flour with whole wheat flour for a heartier loaf. Add 2 tablespoons of honey instead of sugar for a slightly sweeter, more golden crust.
3. Perfect Same-Day Pizza Dough
Attachment: Dough hook | Speed: 1-2 only | Active time: 15 min | Total time: 3-4 hours
Pizza dough costs about $2 in ingredients and produces four 12-inch pizzas. Four equivalent pizzas from a decent pizzeria: $48-64. This recipe alone pays for the mixer over time — and the dough freezes well, so you can make a double batch and have pizza-ready dough in the freezer for weeks.
Ingredients
- 4 cups (500g) bread flour or high-protein all-purpose flour
- 1 1/2 cups (355ml) warm water (100-110°F)
- 2 teaspoons (10g) salt
- 1 teaspoon (4g) instant yeast
- 1 tablespoon olive oil
Method
- Add warm water and yeast to the mixer bowl. Let sit 5 minutes until foamy.
- Add flour, salt, and olive oil. Attach the dough hook. Mix at speed 1 until ingredients come together into a shaggy mass, about 1-2 minutes.
- Increase to speed 2 and knead for 5-7 minutes. The dough should be smooth, elastic, and slightly tacky but not sticky. It should pass the windowpane test: stretch a small piece between your fingers — if it stretches thin enough to see light through without tearing, the gluten is developed.
- Remove the dough hook, shape the dough into a ball, and place in a lightly oiled bowl. Cover with plastic wrap or a damp towel. Let rise at room temperature for 2-3 hours until doubled.
- Punch down, divide into 4 equal balls (about 250g each). Shape each into a tight ball. Place on a floured tray, cover, and let rest for 30-45 minutes.
- Preheat oven to the highest temperature it can go (500°F / 260°C is ideal) with a pizza stone or inverted baking sheet inside. Stretch each dough ball into a 12-inch round on a floured surface. Top and bake for 8-10 minutes until the crust is golden and the cheese is bubbling.
Why the stand mixer matters here: Pizza dough is stiffer than bread dough (lower hydration), which means more resistance during kneading. On an AC motor mixer, this is where you'd notice straining, walking, or a burning smell. The Hauswirt M5max's DC motor handles 500g of stiff pizza dough at speed 2 without any of that — and the side-mounted motor placement keeps the mixer planted on the counter.
Make-ahead option: After dividing into balls, wrap each tightly in plastic wrap and freeze. Thaw overnight in the fridge, then let come to room temperature for 1 hour before stretching.
4. One-Bowl Vanilla Butter Cake
Attachment: Flat beater | Speed: 4-6 for creaming, 2 for adding flour | Active time: 15 min | Total time: 1 hour
A straightforward butter cake that's good on its own and better as a base for strawberries and whipped cream. This is the cake you make when someone says "can you bring dessert?" and you have an hour. No separating eggs, no folding egg whites, no syrup. One bowl, one beater, one hour.
Ingredients
- 2 cups (250g) all-purpose flour
- 2 teaspoons baking powder
- 1/2 teaspoon salt
- 3/4 cup (170g) unsalted butter, softened
- 1 1/4 cups (250g) granulated sugar
- 3 large eggs, at room temperature
- 2 teaspoons vanilla extract
- 3/4 cup (180ml) whole milk, at room temperature
Method
- Preheat oven to 350°F (175°C). Grease and flour two 8-inch round cake pans, or line with parchment.
- In a separate bowl, whisk together flour, baking powder, and salt. Set aside.
- Attach the flat beater. Add softened butter and sugar to the mixer bowl. Start at speed 1 to combine, then increase to speed 5-6. Cream for 3-4 minutes until pale and fluffy — this step determines the cake's texture. Scrape the bowl twice during creaming.
- At speed 3, add eggs one at a time, beating 30 seconds after each. Add vanilla.
- At speed 1-2, add the flour mixture in three additions, alternating with the milk in two additions (flour → milk → flour → milk → flour). Mix each addition only until just combined — 10-15 seconds each. Over-mixing develops gluten and makes the cake tough.
- Divide batter evenly between pans. Bake 25-30 minutes until a toothpick inserted in the center comes out clean. Cool in pans for 10 minutes, then turn out onto a wire rack to cool completely.
Why the stand mixer matters here: The alternating flour-milk method requires continuous low-speed mixing while you measure and add ingredients with both hands. A hand mixer makes this awkward — you're juggling the mixer, pouring flour, and pouring milk simultaneously. The stand mixer frees both hands for ingredient management.
Variations: Add 2 tablespoons lemon zest + 1 tablespoon poppy seeds for lemon poppy seed cake. Replace 1/4 cup milk with strong brewed coffee for a subtle coffee cake. Split the cooled layers and fill with jam and whipped cream (see recipe #5).
5. Perfect Whipped Cream (and How to Use It)
Attachment: Wire whisk | Speed: 8-10 | Time: 2-3 minutes
This is the simplest recipe in the list and the one that most impresses guests. Fresh whipped cream tastes nothing like the canned stuff — it's richer, less sweet, and actually tastes like cream. Once you make it in a stand mixer (2-3 minutes of hands-off whipping), you'll never buy aerosol whipped cream again.
Ingredients
- 1 cup (240ml) heavy whipping cream (at least 36% milk fat — check the label)
- 1-2 tablespoons powdered sugar (powdered, not granulated — the cornstarch helps stabilize the cream)
- 1/2 teaspoon vanilla extract
Method
- Chill the mixer bowl and wire whisk in the freezer for 10 minutes. Cold equipment is the secret to stable whipped cream — warm bowls make it collapse.
- Attach the wire whisk. Pour cold cream into the chilled bowl. Start at speed 2 for 30 seconds to avoid splashing, then increase to speed 8-10.
- When the cream starts to thicken (about 1 minute), add powdered sugar and vanilla through the top opening while the mixer runs.
- Continue whipping until the cream forms soft peaks — when you lift the whisk, the cream should form a peak that gently folds over at the tip. This takes about 2-3 minutes total. Stop immediately when you reach soft peaks — 30 seconds too long and you'll have butter.
Why the stand mixer matters here: The wire whisk attachment incorporates more air than a hand mixer's tiny beaters, producing lighter, more voluminous whipped cream. And because you can stream in sugar and vanilla with the mixer running, they distribute evenly without deflating the cream.
What to do with it:
- Top the vanilla butter cake from recipe #4
- Serve with fresh berries and a sprinkle of shaved dark chocolate
- Fold into softened vanilla ice cream for an instant "soft serve" texture
- Dollop on hot cocoa, coffee, or a bowl of fruit salad
- Layer with crumbled cookies and fruit in a glass for a 5-minute trifle
Frequently Asked Questions
What's the best first recipe to try with a new stand mixer?
Chocolate chip cookies. The creaming method is the most important technique to learn, the ingredients are in every pantry, it's hard to fail even if your technique isn't perfect, and warm cookies fresh from the oven feel like a reward for buying the mixer. Make the bread recipe second — it's more technique-sensitive but teaches you how the dough hook should sound and feel.
Why did my bread dough not rise?
Three likely culprits: dead yeast (check that your yeast foams in warm water before adding flour), water that's too hot (above 130°F kills yeast instantly — use 100-110°F water), or a cold kitchen (dough rises best at 75-80°F; in a cold kitchen, put the covered bowl in the oven with just the light on).
Can I double these recipes?
Cookies, cake, and whipped cream: yes. Bread and pizza dough: check your mixer's capacity first. The Hauswirt M5max with a 6-quart bowl handles up to 1.5 kg (about 3.3 lbs) of dough — that's a double batch of the bread recipe or triple batch of pizza dough. Exceeding the capacity strains the motor and produces uneven kneading.
Why are my cookies flat and spreading too much?
Butter too warm or not enough flour. If the butter is melted or overly soft (feels greasy rather than pliable), the cookies spread before they set. Room temperature butter should give slightly when pressed but still feel cool and hold its shape. Also: don't skip the chilling step — it solidifies the fat so the cookies spread at the right rate in the oven.
What speed should I use for bread dough?
Speed 2, always. Never higher. Bread dough needs slow, sustained kneading to develop gluten without tearing it. Running the dough hook at higher speeds over-works the outer layer of dough while the center stays under-kneaded, and it overheats both the motor and the dough. On a DC motor mixer, speed 2 provides consistent torque. On an AC mixer, you may be tempted to use speed 4 because speed 2 feels weak — that's the AC motor losing torque at low RPMs.
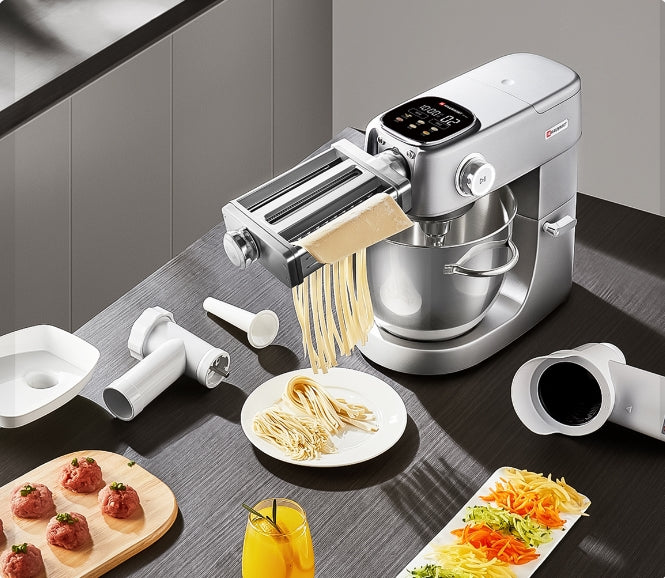
Can I make all five recipes with just the attachments that came with the mixer?
Yes. Every recipe on this page uses only the three attachments included with every Hauswirt stand mixer: dough hook (bread, pizza), flat beater (cookies, cake), and wire whisk (whipped cream). You don't need any additional attachments to make any of these.
Ready for more? See our complete list of stand mixer uses — some of them might surprise you.
What to Do Next
Pick one recipe and make it this weekend. The cookies are the easiest win. The pizza dough is the best value. The bread is the most satisfying. Start wherever you're most excited — the techniques you learn from any one of these will carry over to the rest.
For more on the techniques behind these recipes, read our guides on making bread dough in a stand mixer and pizza dough hydration, speed, and timing.
Ready to start baking? The Hauswirt M5max — with its DC motor, 11 speeds, 5 preset programs, and built-in timer — handles every recipe on this page and everything beyond it.
Sources
- Recipe ratios and methods adapted from standard baking references: King Arthur Baking Company, America's Test Kitchen, and professional baking textbooks
- Hauswirt M5max product documentation — bowl capacity, speed settings, motor specifications
- Yeast behavior and dough temperature thresholds from professional baking science references